Friday, November 8, 2013

Hand Drawn Giant Dresden


So happy to finally be able to share this quilt!  I loved every minute I spent making this one.  Watching the magic that happens when Anna Maria Horner's fabrics play together is just so much fun.  All prints used were from her Hand Drawn Garden Collection.  I wavered back and forth about buying the entire collection for a while.   Something about it kept calling me back to my etsy favorite page, where I'd just look at the pictures of it until I finally hit the button.  This gorgeous room redo over at Olivia Jane Handcrafted totally sealed the deal as soon as I saw all of the beautiful photos.
Once the fabric arrived I stared at it not sure how to use all of the prints.  The giant Dresden idea hit me and I knew  this collection and that pattern would be a great combination.
I used Rita's tutorial over at Red Pepper Quilts for all of the cutting measurements.  For my ruler I used this OmniAngle Wedge Ruler I scored from Joanne's for 50% off. 
Giant Dresden

Untitled
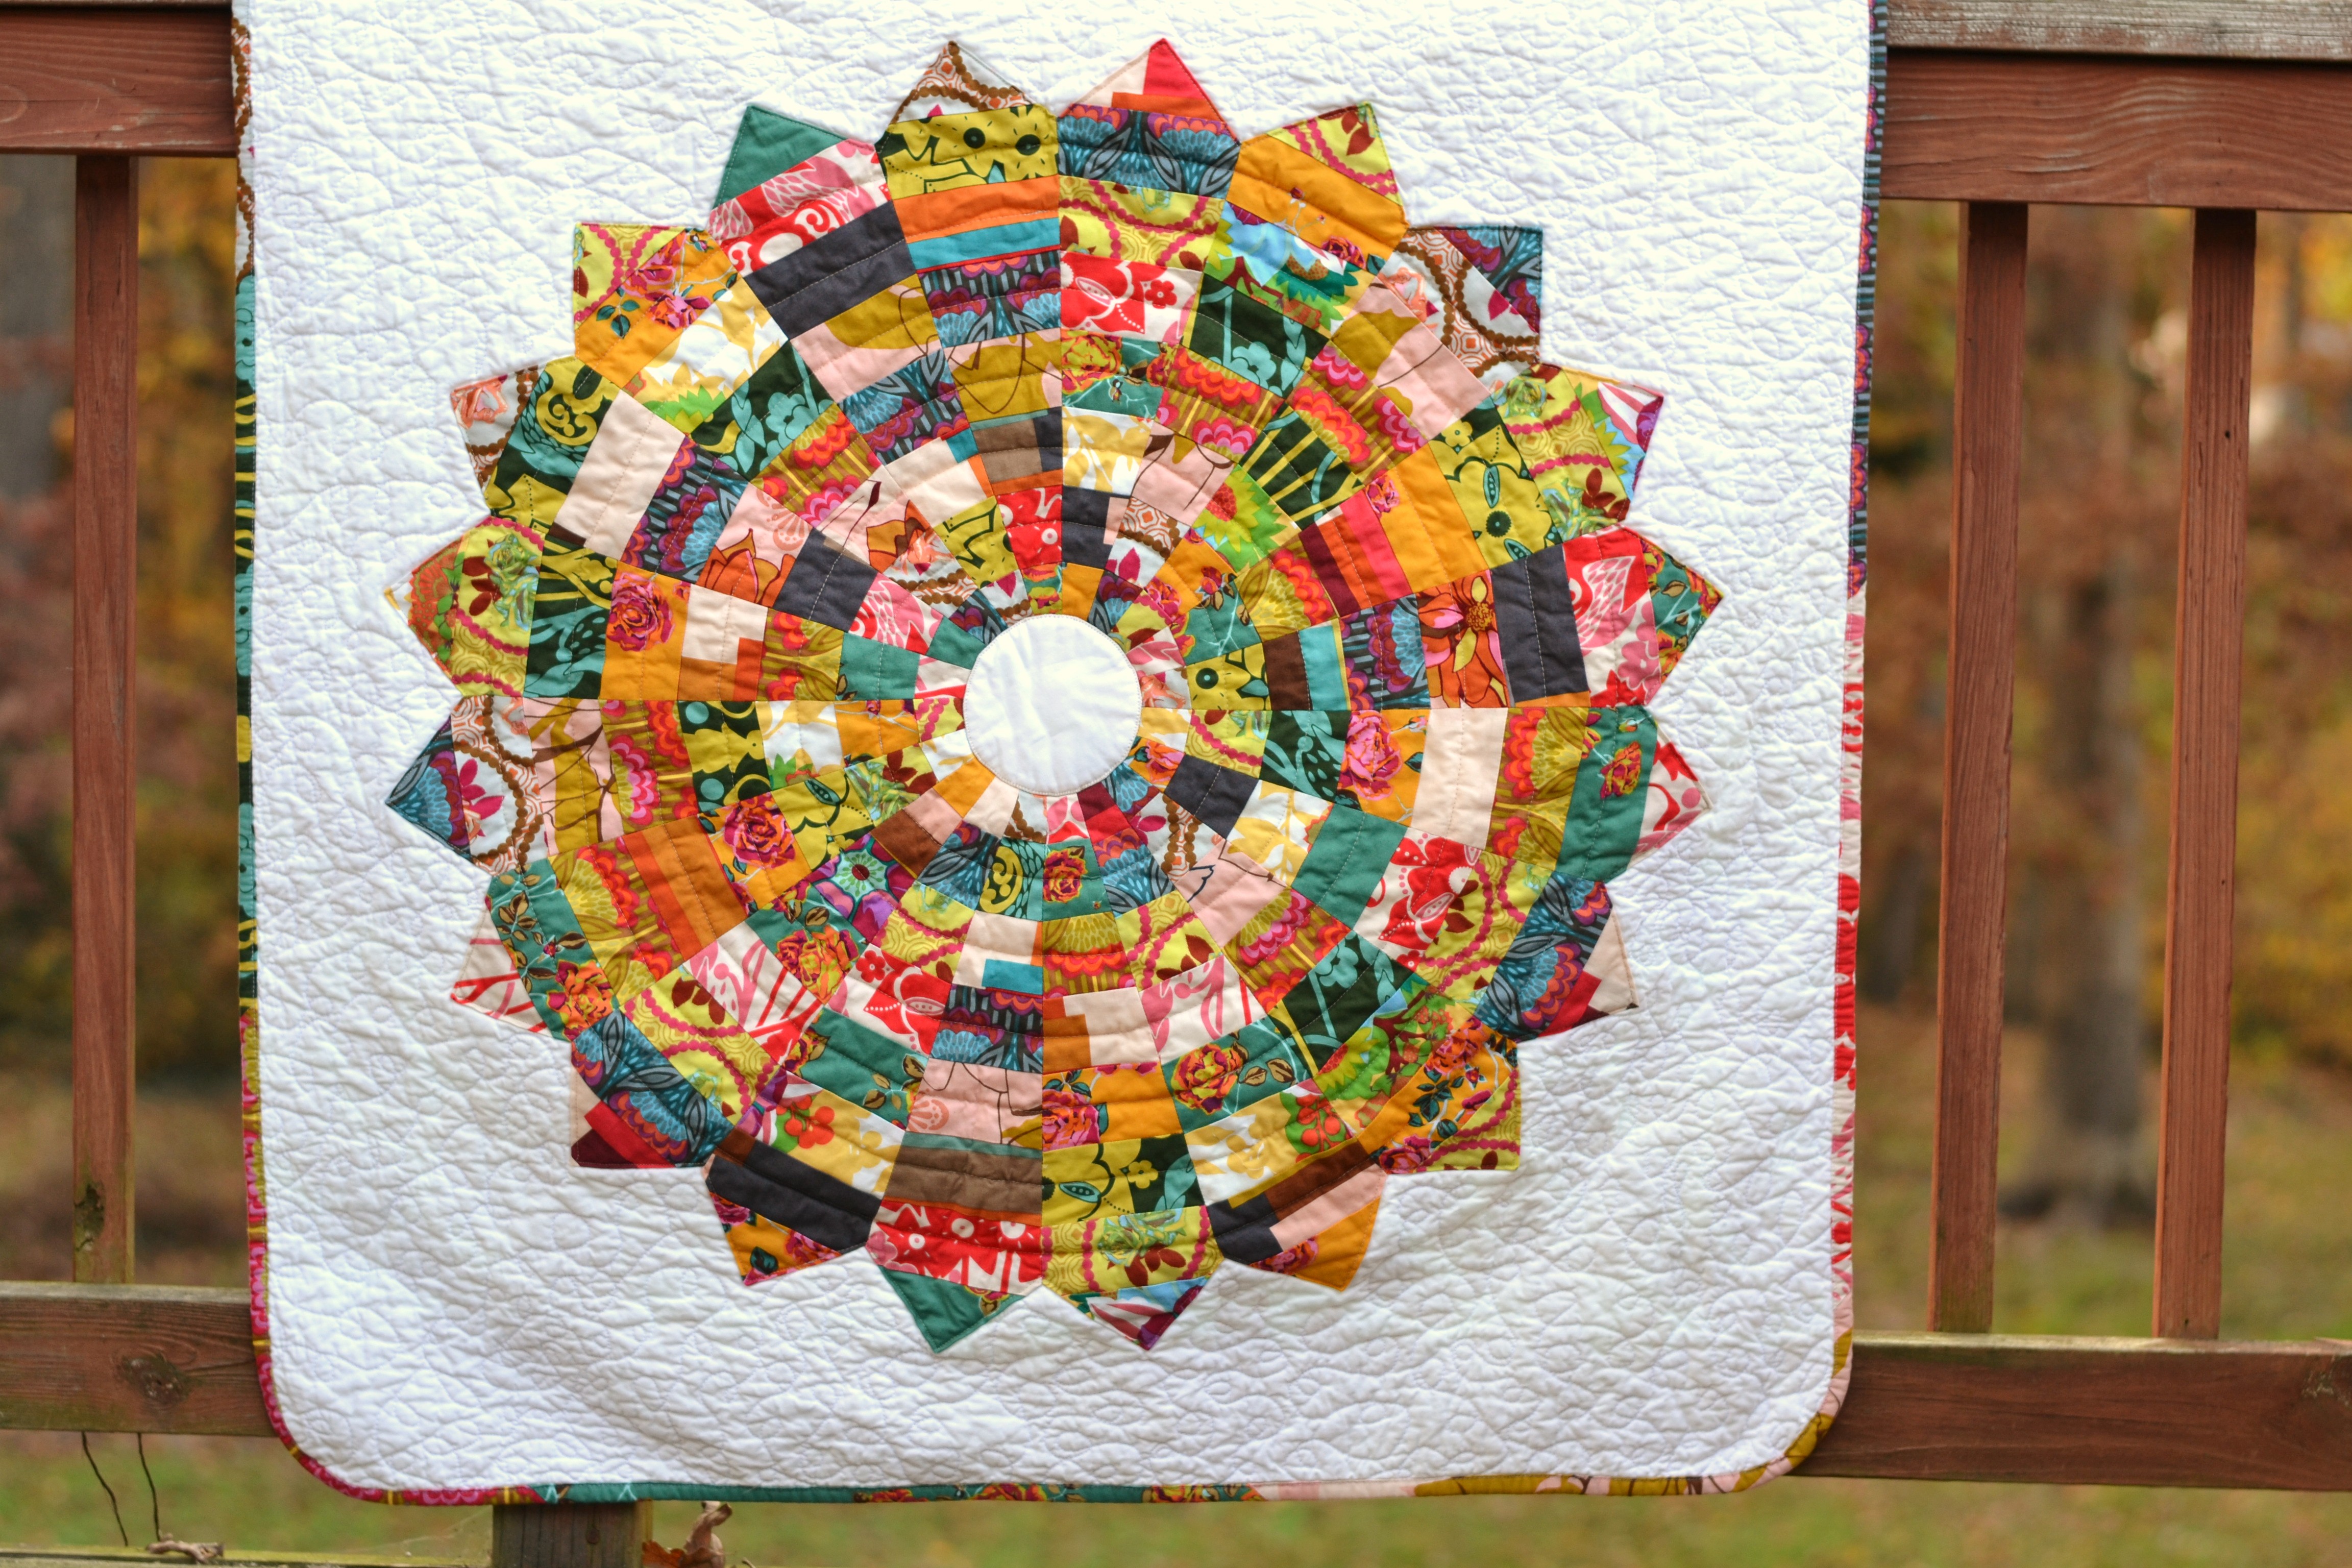
Spray basted, straight line appliqued.

A Juliana Horner print from Joanne's was totally perfect as the backing.

DSC_3884

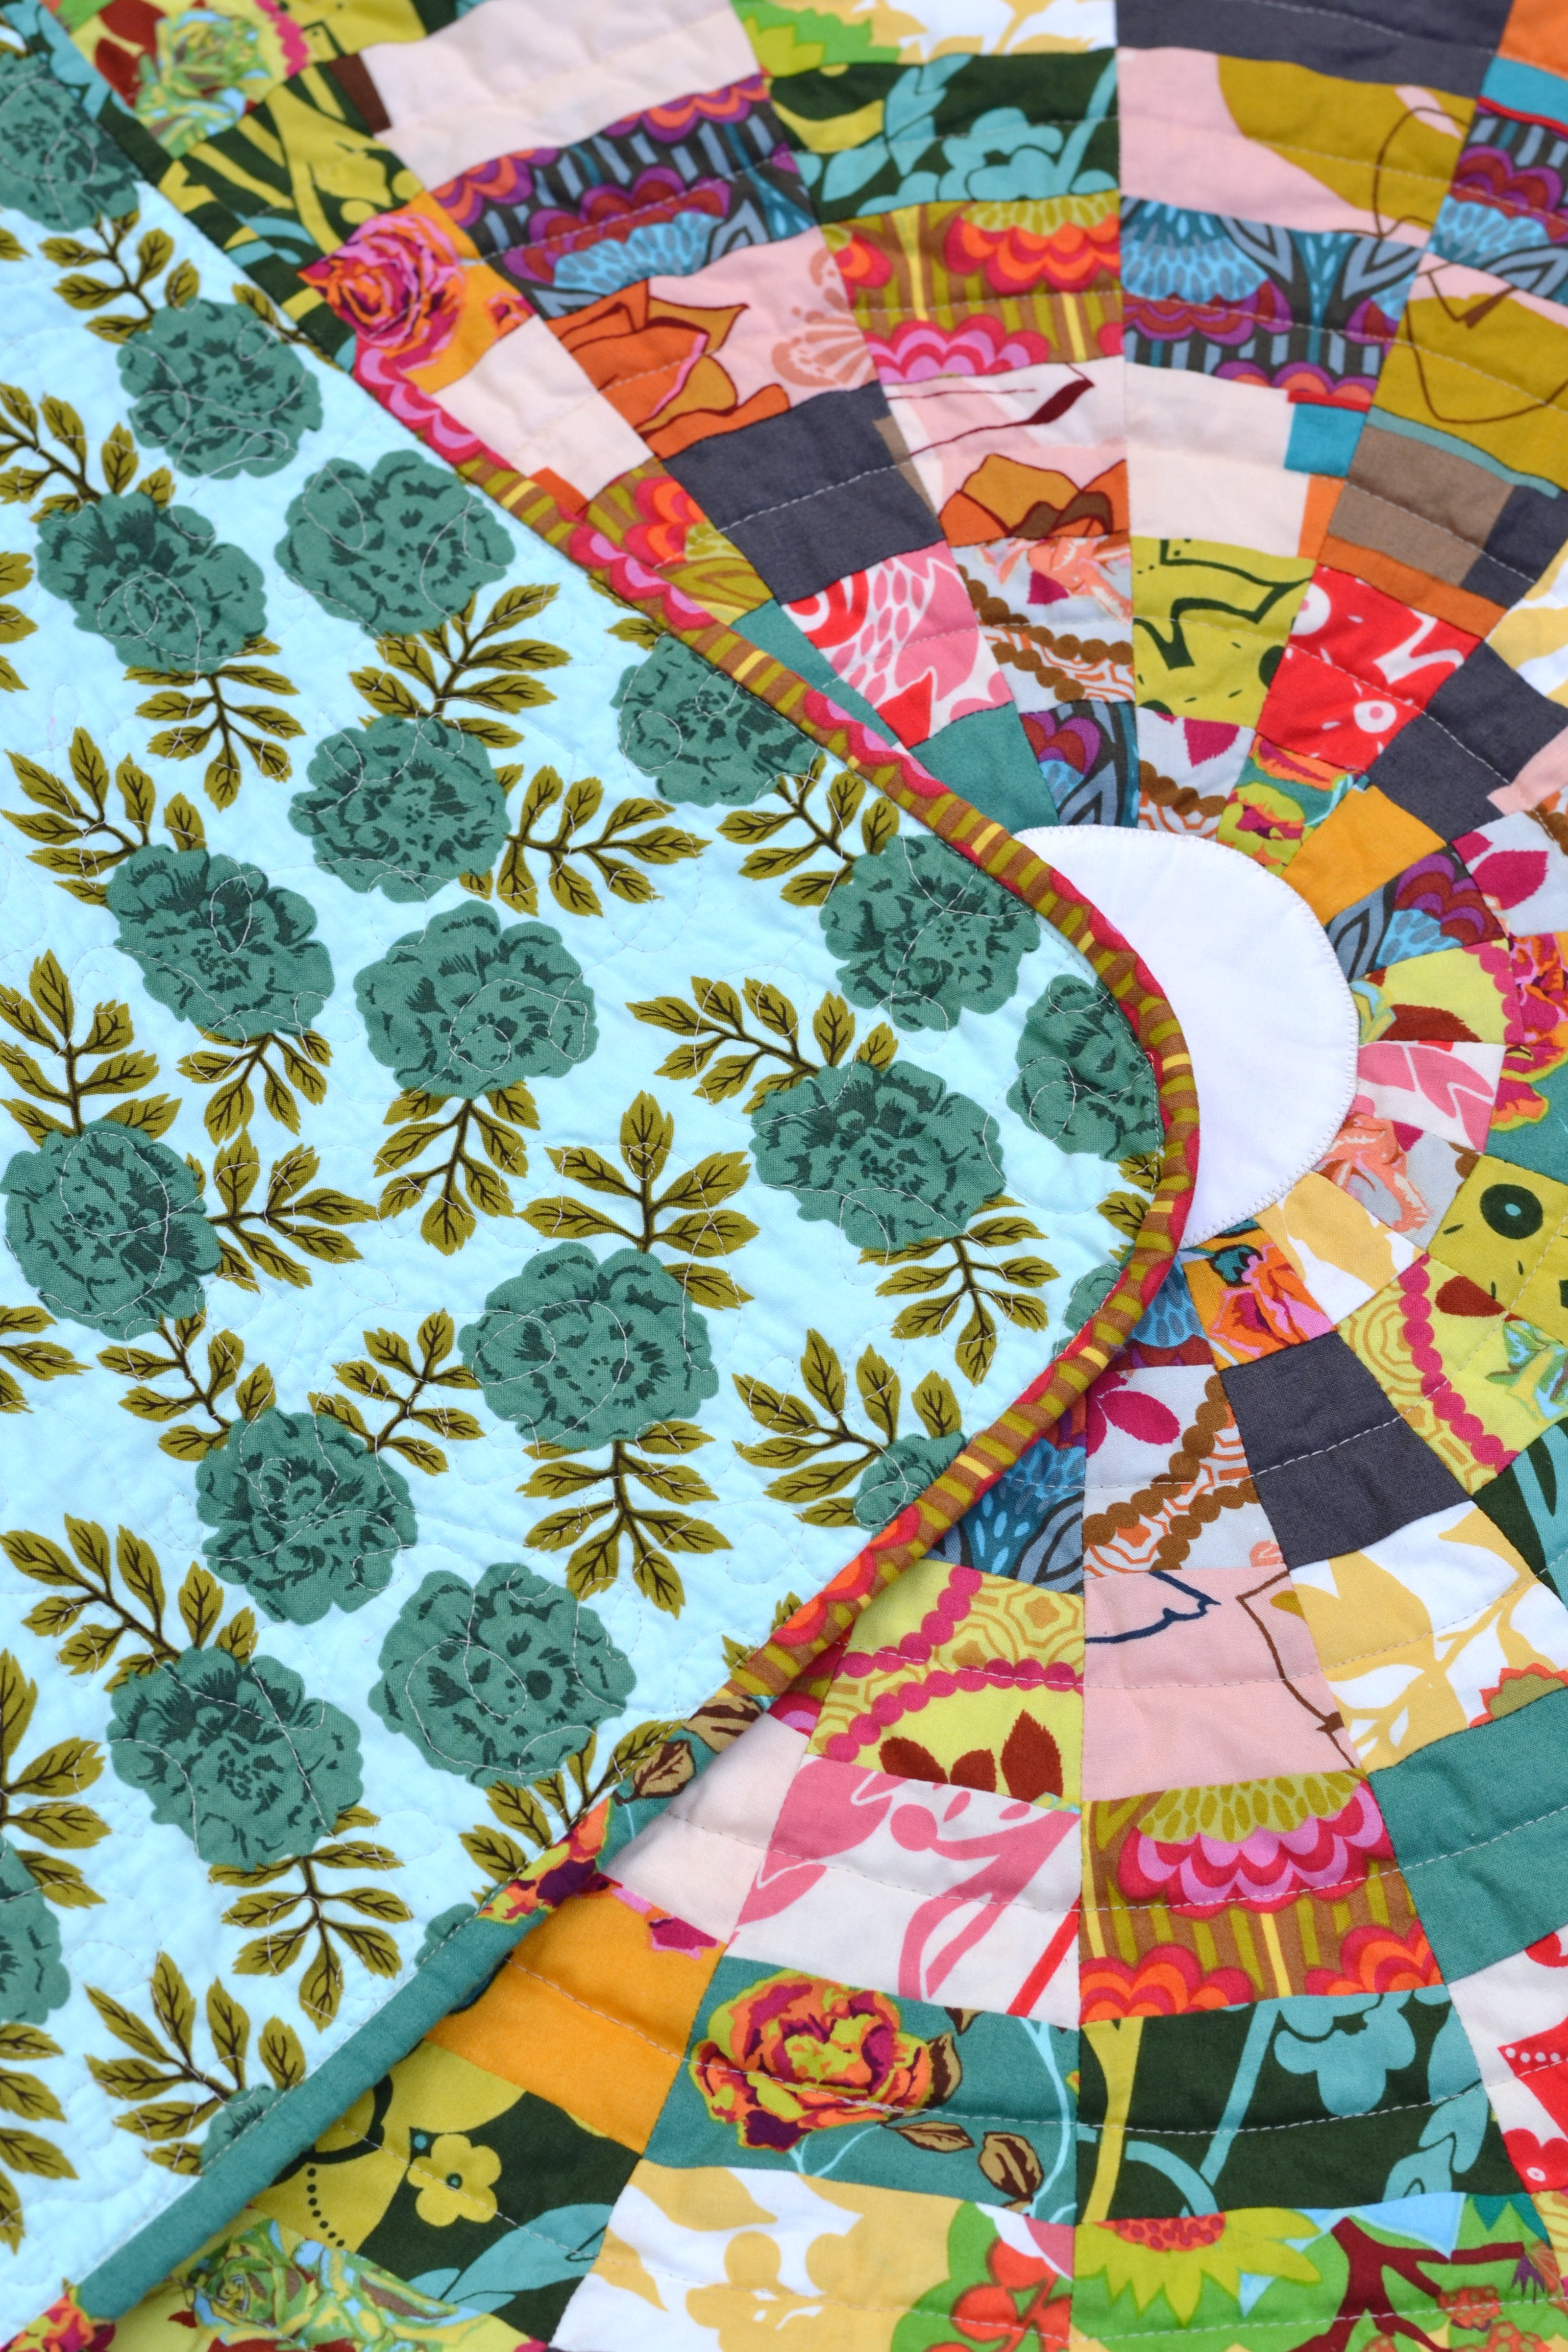
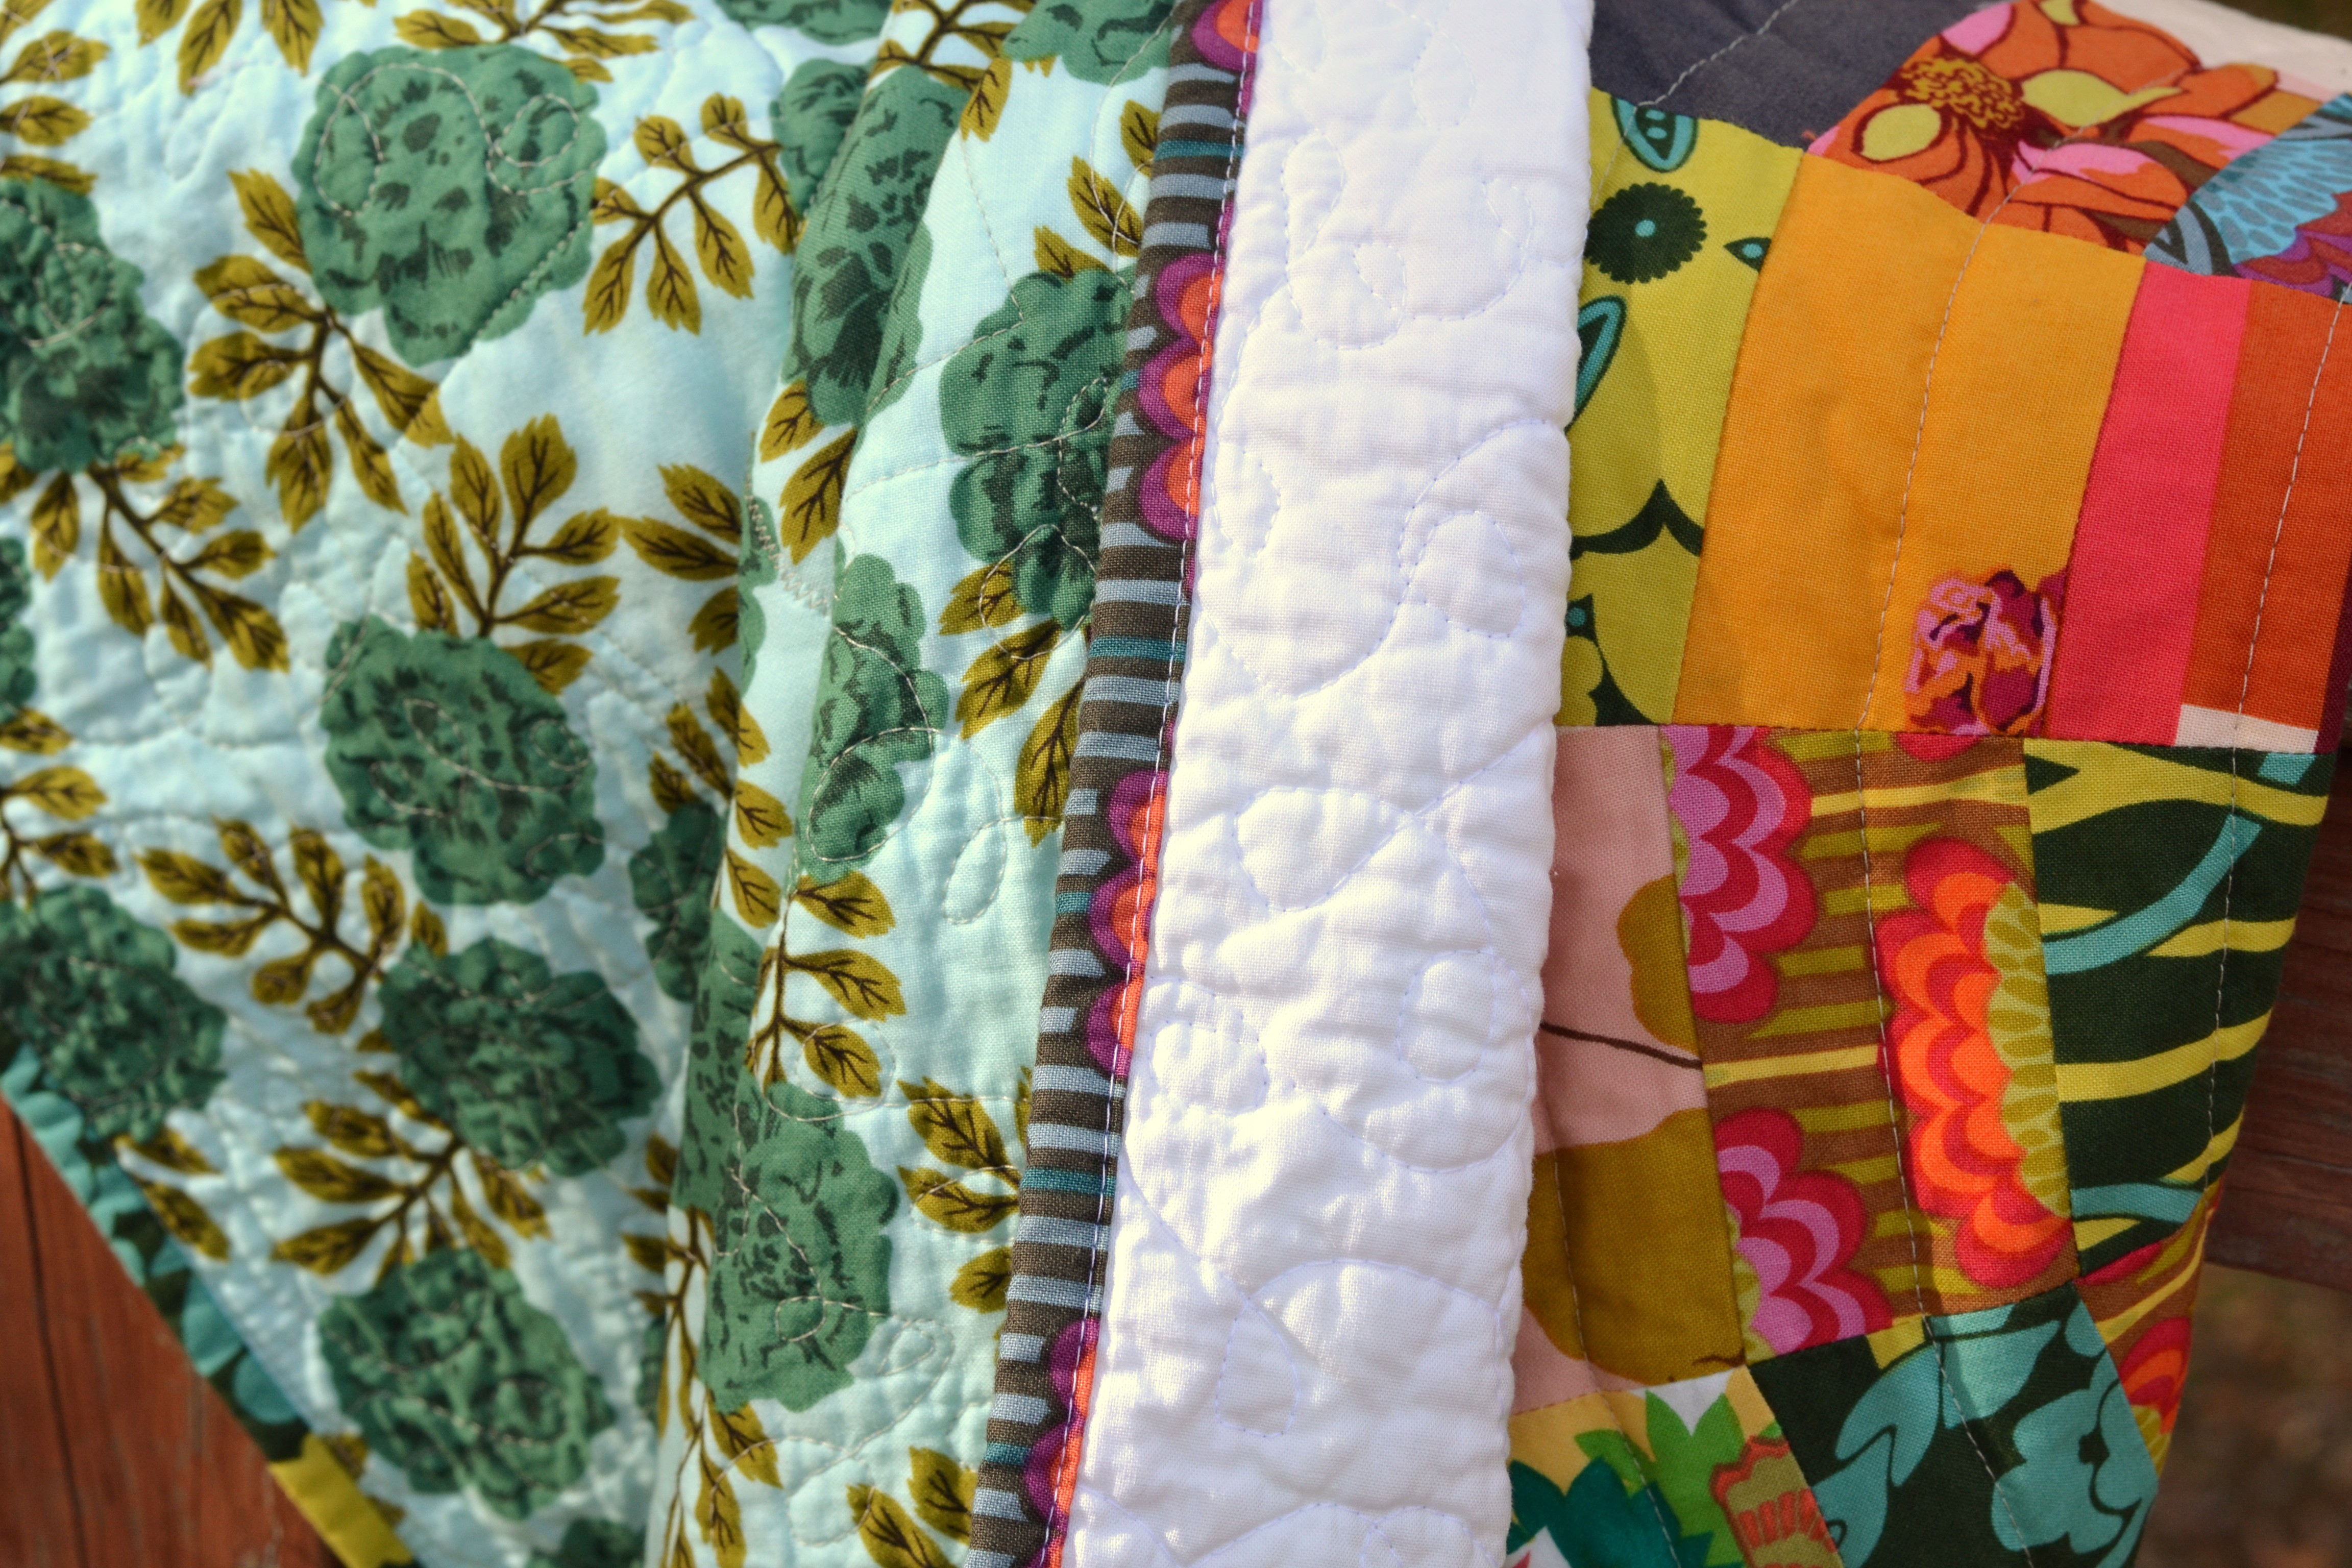
Concentric circles for the center flower and loopy quilting for the outer white area.
DSC_3843
 Scrappy binding, machine sewn.
DSC_3855DSC_3868
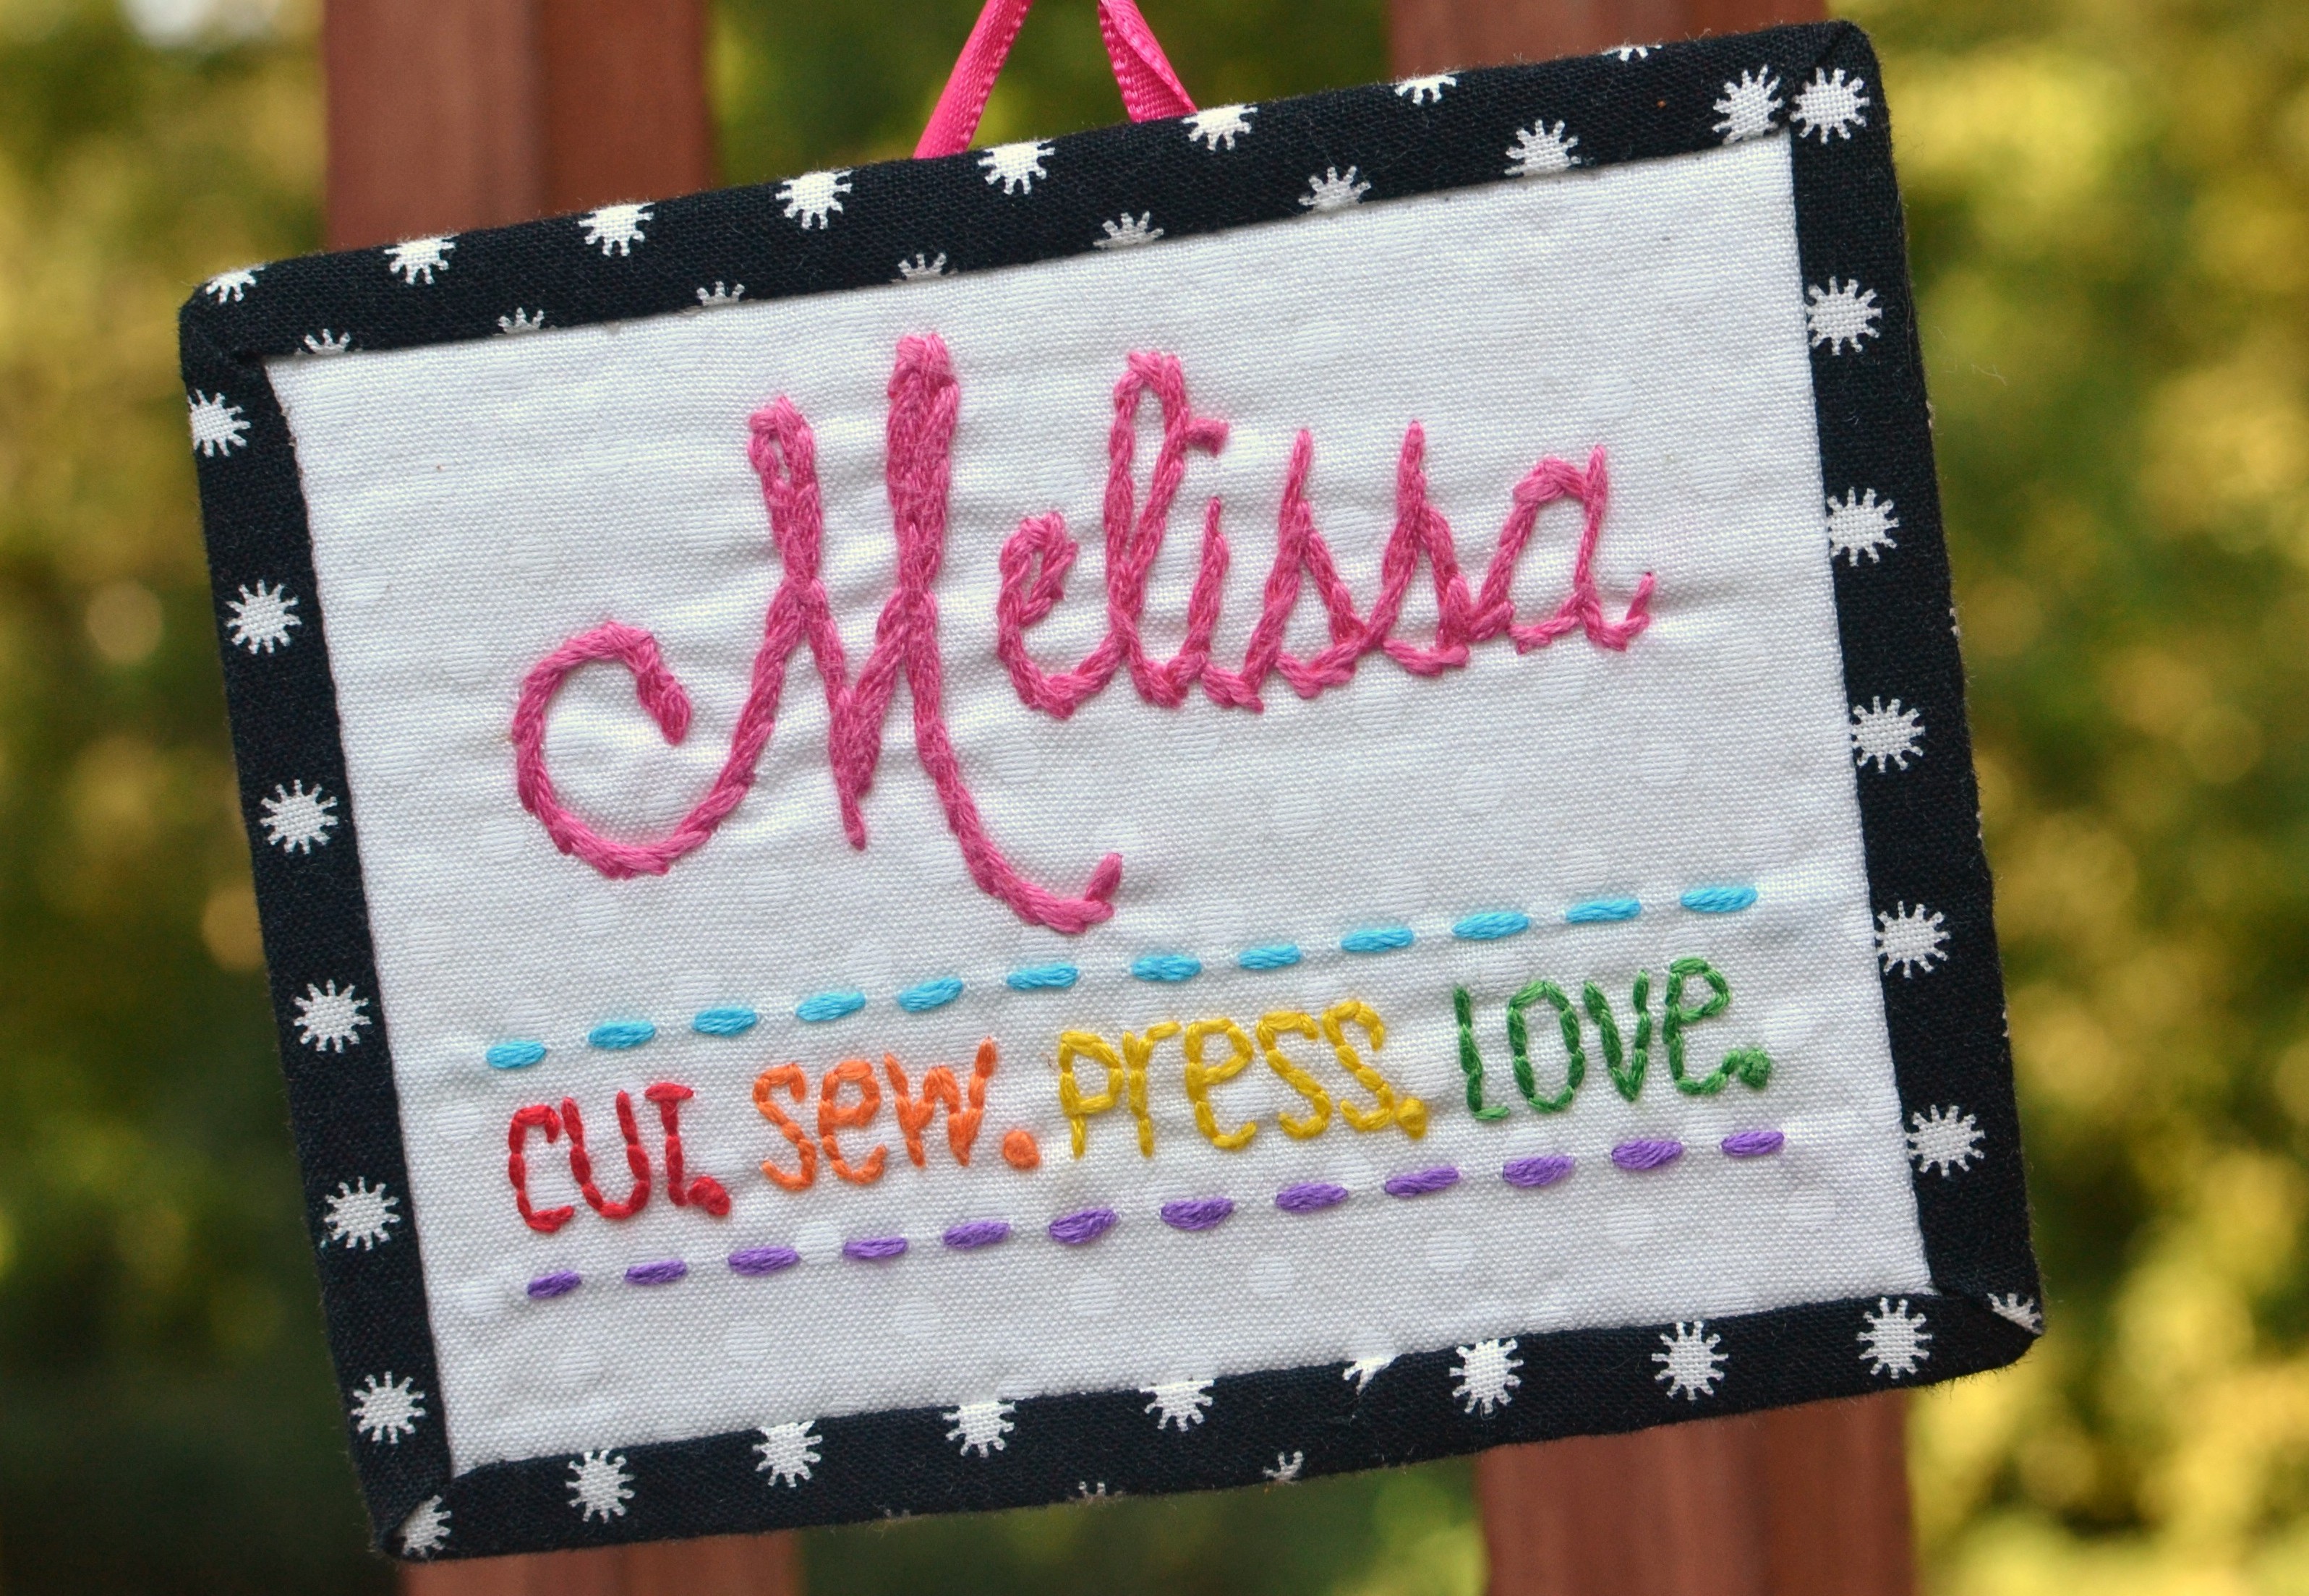
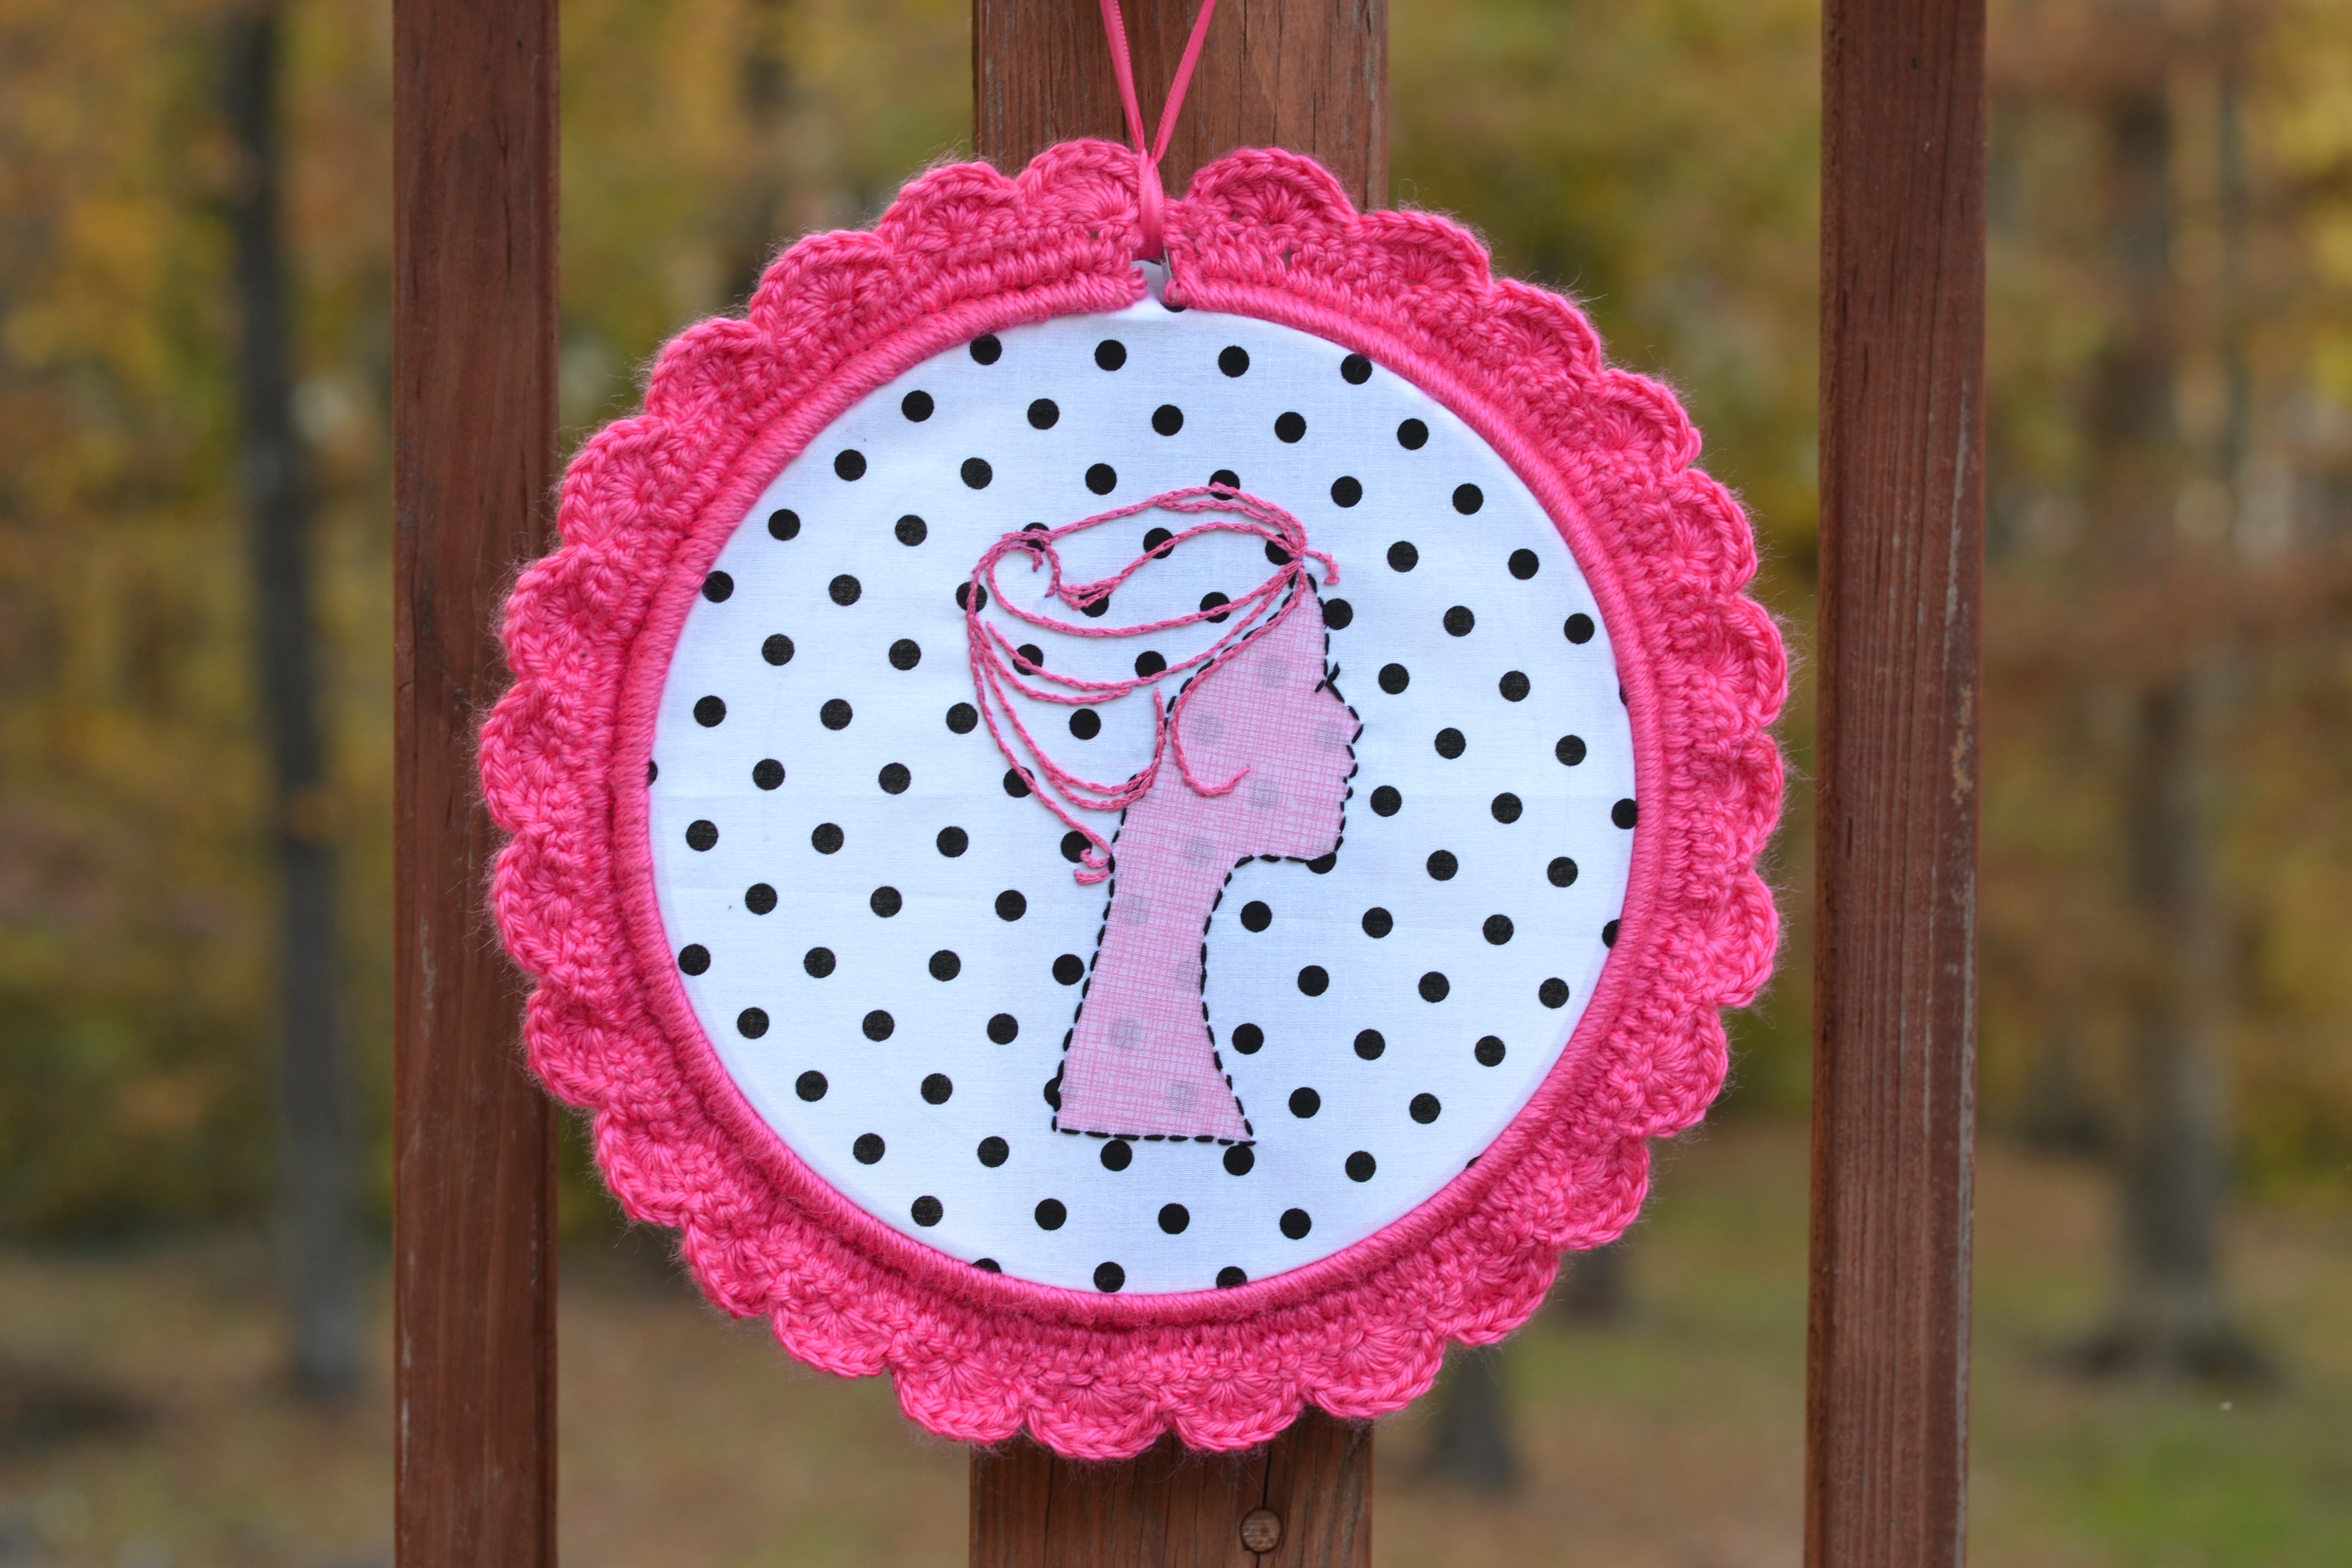
I also made this lovely lady to go along with the baby quilt which was a gift. 
Recently I've been obsessed with crocheting around around embroidery hoops thanks to these two awesome tutorials by Heart Made Life and Sew Chatty.  I wasn't sure what I was going to do with the hoops until I saw this gorgeous pillow by Ale and then I knew I had to make some beautiful hair silhouette girl.  Unfortunately the pattern she used had been retired and so I had to get creative.  I used some clip art I found and traced the lines I wanted to stand out.  I'm really happy with the way it turned out.
DSC_3886
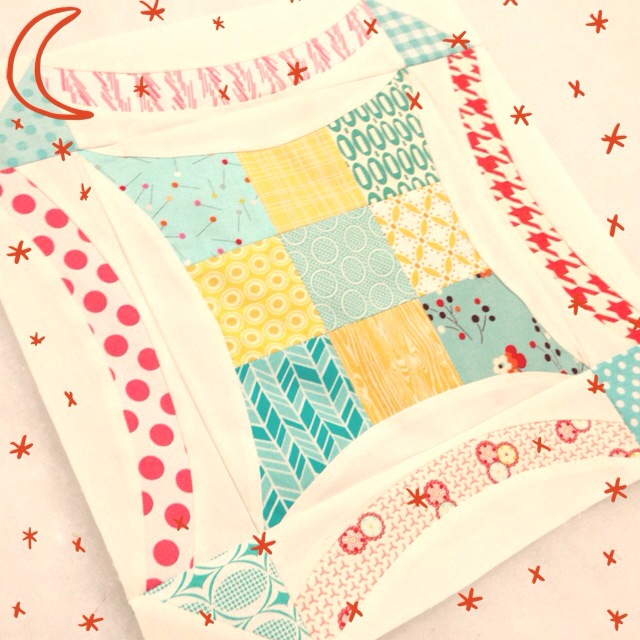
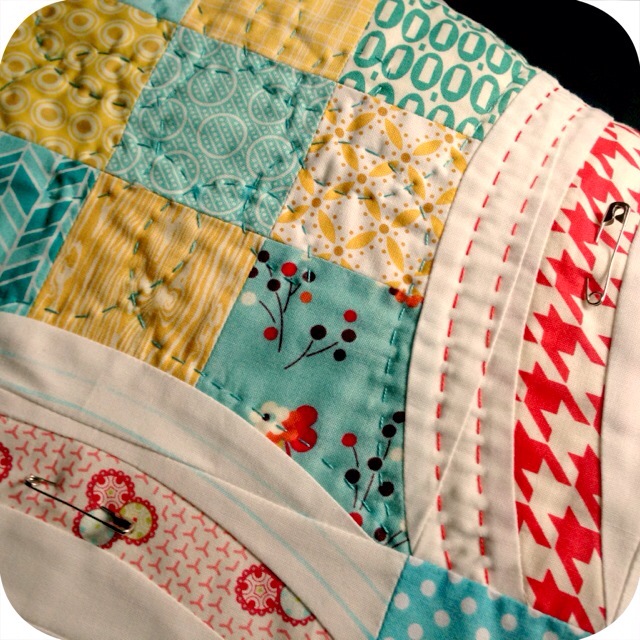
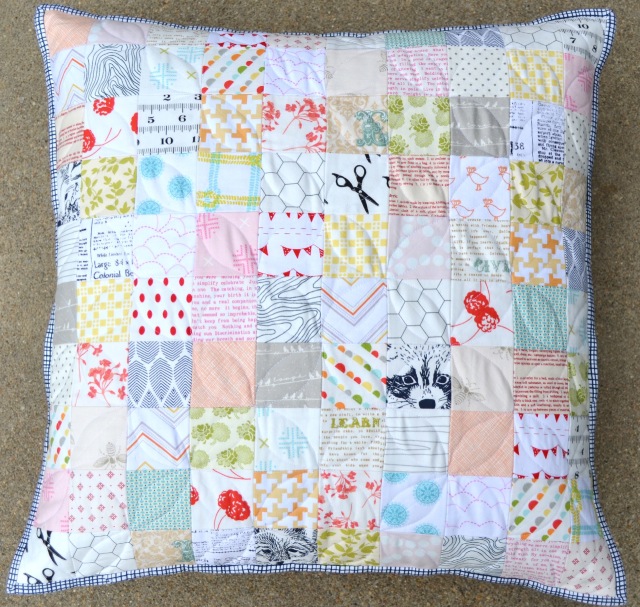
And last but not least, here is my entry for the Low Volume round of the X-Factor Pillow swap. So fun to make this one, just really relaxing and easy so I named it Easy Breezy.
Easy Breezy
Thank you for stopping by to visit!  Happy sewing!
Melissa

Tuesday, October 15, 2013

Sewing Summit 2013


I figured if I wait until I find the right words I will never blog about it so instead I will just share my photos.  All in all, Sewing Summit was a wonderful and amazing experience and I hope I am able to go again one day.

I made a QAYG version of Amy Butler's Weekender Bag.  Don't look on the inside though, because I haven't finished hand sewing the lining in.  I used so many of my most favorite prints.
Weekender RBT side
weekender text the raindbow pocket
weekender side A
weekender peacock lane pocket
In keeping with the travel handmade theme I left my leather purse at home and instead  made a 241 tote using Anna of Noodlehead's pattern.  The fabric is linen with prints from the Tsuru collection.  Love this bag, love this pattern!  I've been itching to make another but not just yet.  Too many other things to be made first.
241 tote
I made a little travel sewing kit which definitely came in handy for my classes.  I found a free pattern here but the measurements were off so I had some reconfiguring to do.
travel sewing case
For the secret swap I made this box bag for my partner and a wall mini.  It was so fun to do the swap in person and see every one's reaction to what they received.
Patchwork & Linen Box Pouch
sewing summit secret swap
I was able to get into LR Stitched's leather accent tote class and this is the fabulous result.  I gave it to my momma as a thank you for watching my boys while I was away.
leather accent tote
So much awesome swag thanks to Sewing Summit and the Salt Lake Modern Quilt Guild!
Sewing Summit Swag
Another one of my courses was a curves class taught by Angela of Cut to Pieces.  I'm going to mount it on canvas like she did and hang it on the wall.
curves mini
I had to make myself a name tag of course.
name tag
And lastly, here is a snapshot of all the pics I took that weekend.  It was so fun to meet my Instagram friends in real life.  I also met so many new people.  Words fail to describe what a wonderful time I had.
Sewing Summit 2013
There is so much more I could tell but I'd be writing a book if I shared it all.  If there are any questions please feel free to email me.
Thanks for reading!
Melissa

Sunday, August 25, 2013

Summer Sewing with Les Amis

I've been sewing like crazy and I am pretty happy with the things I've made lately.  I was able to complete 2 different baby quilts using the same collection.  The fabric is Les Amis by Patty Sloniger with Kona Medium Gray.

Pattern is Swirling Medallion from the Book Quilting Modern by Jaquie Gering and Katie Pederson. 
I quilted it with a serpentine stitch which gives it such a great effect.
The back
Here is the second quilt from the same line.  Lately I've been rounding the corners on some of my baby quilts.  I love how it softens the frame.
 
Simple crosshatch quilting.
 
I also finished another pillow for the X factor Pillow Swap round 6.  I named it Double Hexy Delight.  The theme was hexies.  I used Kerri's tutorial.  As I was making it, I wasn't sure about the direction it was going in.  The hand stitching totally made the difference for me, and I really enjoyed doing it.
 
Here is a peek at what I'm working on now.  It's my swap piece for the Sewing Summit Secret Swap.  Sewing Summit is less than a month away and I'm so excited and a bit nervous about going.  I'm also working on my Amy Butler Weekender Bag, which I hope to share with you soon.  If you're on instagram you can see some pics of it there.  I'm cutsewpresslove on instagram.
Untitled

Details

I hope you all have had a productive and fun summer.  I cannot believe its almost time to start thinking about Christmas projects.  EEEK!  Crazy talk!  Happy sewing and thanks for reading!

Melissa

Monday, July 15, 2013

The blues and some more triangles


When I first saw this gorgeous pillow and tutorial a while back I instantly fell in love!  I immediately placed my order with Peg of Sew Fresh Fabrics and requested the exact same bundle of Kona Cottons in Ice Frappe, Aqua, Azure, Bahama Blue, Peacock, and Surf.  The bundle sat for a while until I was in the mood to make the pillow. 
A few weeks ago one of my best friends got married.  I had the honor of being one of the bridesmaids in the ceremony.  For a wedding gift I knew I was going to go the handmade route of course, but I wasn't sure what exactly to make.  Then I remembered that my girlfriend has a lovely collection of cobalt glassware on display in her living room.  Boom!  Enter my lovely bundle of blues.  I do not own a Sizzix cutter so I made my own bottle template and decided to follow the tutorial to a T.  Why mess with perfection right?  I couldn't gift just one pillow and still had plenty of fabric left for another and so I made the other pillow.  I don't know why, but again I went with triangles.  I think I need a triangle intervention :)  Really though, I think the triangles compliment the waves of the other pillow so nicely. 
 For the backs I used a Denyse Schmidt print from Joanne's and Svetlana's tutorial for a hidden zipper closure.  This is definitely my favorite method for finishing pillows.  I don't like doing it any other way anymore.
As usual, all the good stuff I make is always for other people.  I really need to start making some awesome stuff to keep for myself.  One day I guess. 
I will leave you all with a few shots from the wedding.  Seriously, it was the best and most beautifully styled wedding I have ever been to.  The theme was vintage everything.  It was lots of fun to get to wear an old 50's hairdo (which I did myself).
 Vintage ladies.  Aren't the colors lovely?
 The gorgeous bride and I.
Thank you all for reading!  Hope everyone is having a great summer!

Melissa

Tuesday, June 25, 2013

Recent projects

Here is a look at some projects I've sewn up lately. 
To start, a baby quilt for my new nephew.  I used a few solids from a Bella Solids 'Neutrals' bundle mixed with some high and low volume prints.  The pattern is a simple disappearing nine patch.  It finished at a nice crib size so it can be used for a toddler.
 I used minky for the backing.  It was pretty easy to quilt with.  Not as difficult as I expected it to be from what I read online.   I kept with simple straight line quilting.  I don't know if I would try fancy free motion with minky.
 Next, is another custom maternity gown.  I wasn't too sure of the fabric at first, but once the pink bow went on I loved the whole thing.  I used Spotted in the Crowd in Grace from Anna Maria Horner's Field Study line.
 I made this little pillow for my friend's daughter who turned two.  It was made from scraps I had left over from making her baby quilt before she was born.  I'm told she likes her pillow very much, which makes me smile.  I used Elizabeth Hartman's dogwood quilting tutorial
Again I used Svetlana's method for the back.  Just a few adjustments and I got the face to match up perfectly.  I love it!  This Tula Pink Parisville print kills me with how gorgeous it is.
 And that's about it for now.  It's been nice to have time behind the machine even though it means staying up until 2 sometimes 3 in the a.m.  I love the quiet time of the night.  Its great to relax even if I do pay for it in the morning.  Anyone else a night owl sewer? 
I leave you with a sneak peek of what I'm working on now.  It's so sweet and dreamy.

Thanks for reading!
Melissa

Wednesday, June 12, 2013

Modern Mini Quilt Challenge

Jennifer of Ellison Lane is hosting the Modern Mini Quilt Challenge.  Today is the day to link up and submit only one entry.  In the past 6 months I've made nothing but minis and I love all of them.  It was so hard to decide which one to submit (like choosing a favorite child).  After a little help from my Instagram friends I've decided to go with the Circle Celebration pillow I made for the X-Factor Pillow swap.  This little pillow had a rough start (you can read about the process here) but in the end I'm pleased with the result.  Its funny that every single one of my favorite works live somewhere else now.  All of them were made for swaps.  This one traveled across the ocean and now lives with Tiina in the U.K. 

This foundation pieced pillow finishes at 15 inches square and is straight line quilted.  The free block pattern can be found at Quilting On the Square along with lots more blocks.  There are already lots of gorgeous minis linked up at Ellison Lane.  I highly recommend visiting and checking out all the lovely eye candy.


As always, thank you so very much for reading!
 
Melissa


Thursday, May 30, 2013

PTS 10


I have been wanting to participate in the Pillow Talk Swap on Flickr for a while now.  I've seen so many beautiful pillows made for each round, I had to get in on the action.  My chance finally arrived when I saw that sign ups were open for round 10.  Imagine my excitement when I saw that my partner was one of my favorite bloggers.  I already knew that she was a huge Anna Maria Horner fan, and in her mosaic I saw triangles, so that's the direction I decided to go in.  There is something about sewing triangles that I just love. 
I only had a few AMH prints in my stash so I ordered a charm pack of Field Study and Lou Lou Thi to work with.  I love the fact that AMH's charms are 6 inches instead of the usual 5.  I cut 60 triangles but ended up using only 25 of them.  Then I began playing with the layout.
 
 
This was ok, but ok wasn't gonna cut it.  It needed something more.
Enter some texty lovliness.  It was so fun showing teasers to the group throughout the process and getting such positive feedback.
 
Once the piecing was done I had to figure out how to quilt it.  I love free motion quilting but I wanted to push myself outside of my comfort zone so I decided I would attempt hand quilting for the first time.  I used six different colors of Perle cotton 8wt.  I also did not use any kind of quilting hoop or frame.
I must admit, I did pick out my stitches more than once due to uneven stitches.  Once I got in the groove though it went nice and smooth.  I did a simple petal motif in the center.
For the low volume background it took me forever to decide what to do with that area.  Finally I settled on simple straight line quilting that echoed the hexagon.  I did the colors by hand and then machine stitched the white with the perle thread.  I never knew you could do that but thanks to Little Miss Shabby, I discovered a new technique I will definitely be using again.

I really enjoyed making this pillow especially knowing who I was making it for.  I think it was pretty obvious that it was for her.  I wanted it to be special and I hope I achieved that.  Judging from her comments on Flickr I think she's going to be a happy lady.  I also made her a linen feather pouch and a wall hoop pocket but I forgot to take a pic of the hoop. :(

I cannot wait to see which pillow I receive!  There are so many beauties in the group I know I will love any one I get.

Thanks for reading!

Melissa
 
 
Follow on Bloglovin