Monday, August 27, 2012

Pin Cushion Caddy

The weekend started off rainy here, which was perfect for staying home all day in pajamas and sewing.  I was able to make myself a cute pincushion caddy!

Pincushion Caddy
 
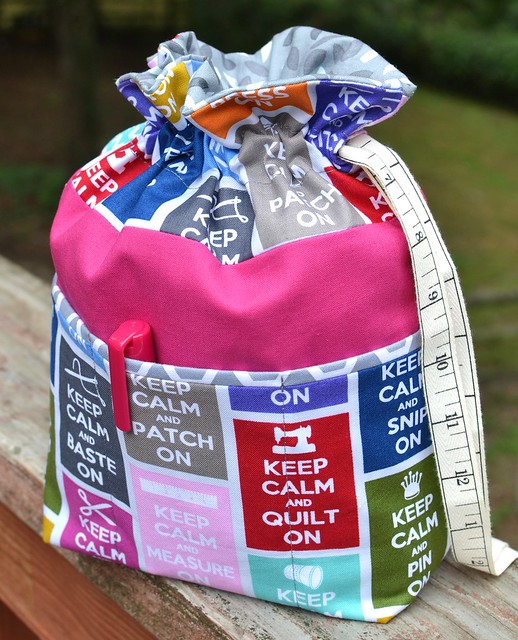
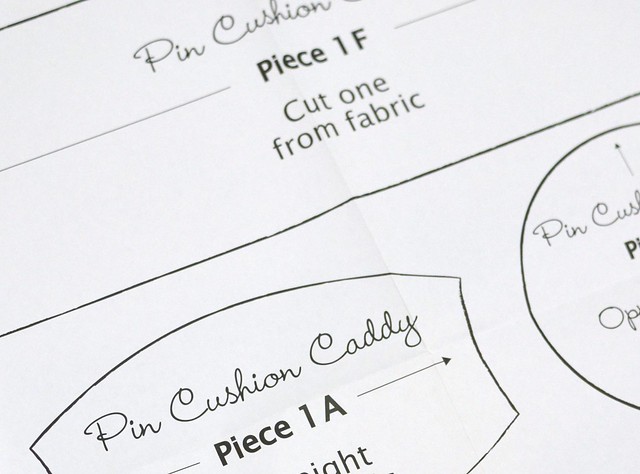
The pattern is from Anna Maria Horner's book, Seams To Me:  24 New Reasons To Love Sewing.  It's one of her older books so I found it pretty cheap on ebay with free shipping.  After reading a few reviews on the pattern I was a bit worried about it beeing too complicated.  I could not have done it without the help of Melanie's tutorial at Texas Freckles.  All of the pictures and instructions were so helpful.  The pattern pieces were cut Friday night and by Saturday evening I had myself a caddy.
 
Pincushion Caddy

DSC_0687

I only needed to cut one piece from the pattern.  The rest of the way I followed Melanie's instructions to get a custom fit tube and bottom.
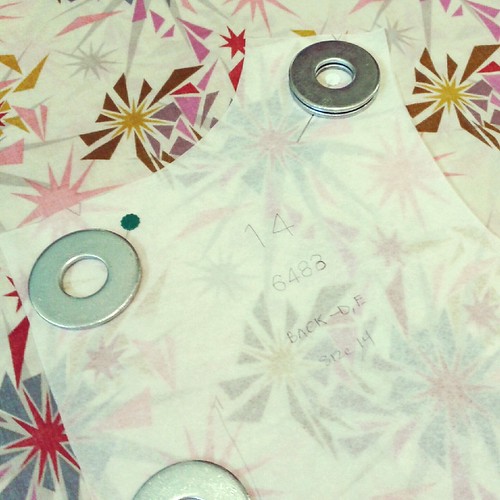
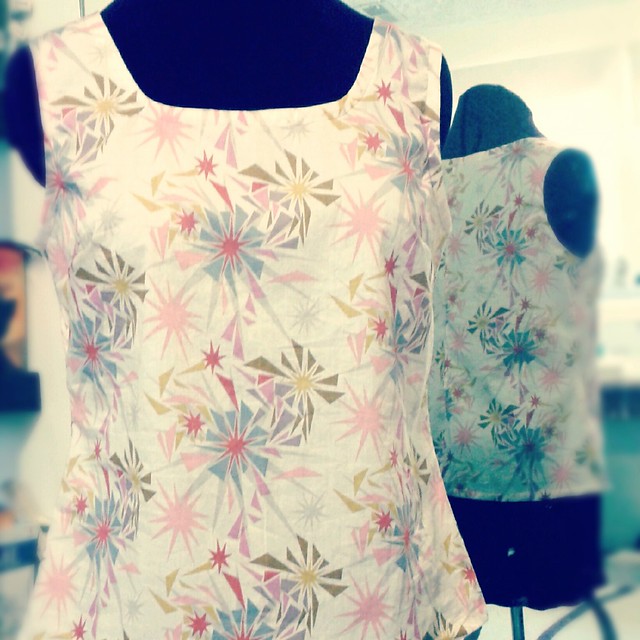
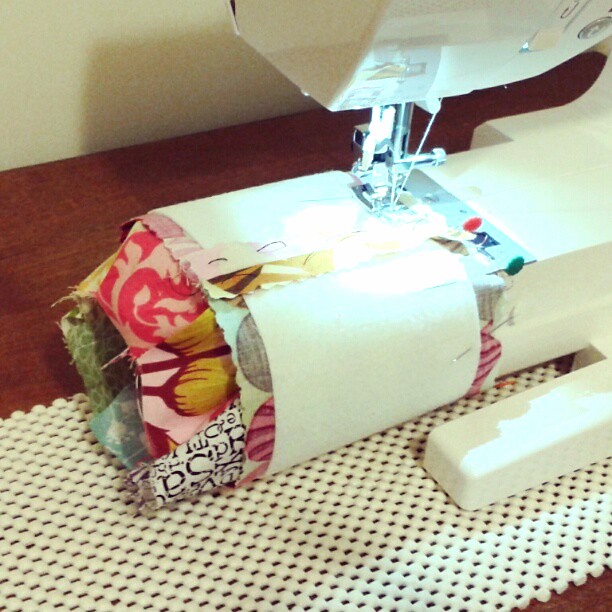
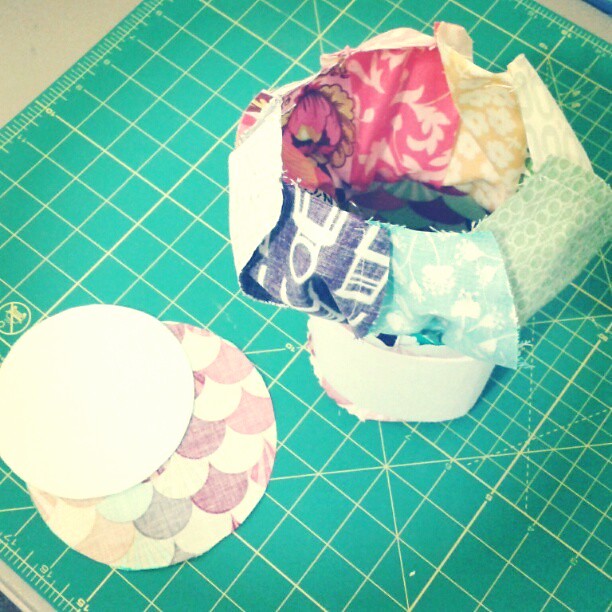
Pincushion Caddy

Instagram progress
Joining the ball & tube


upload

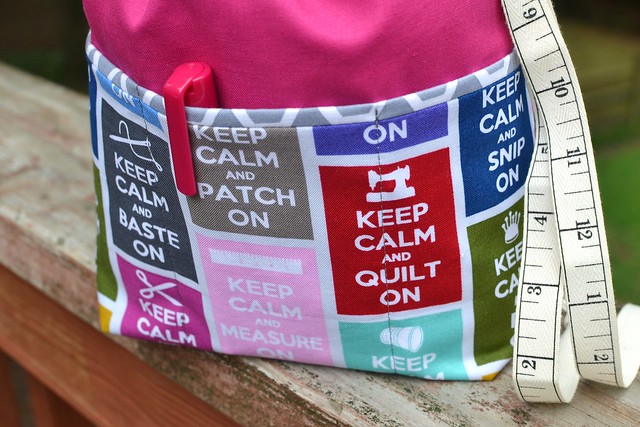
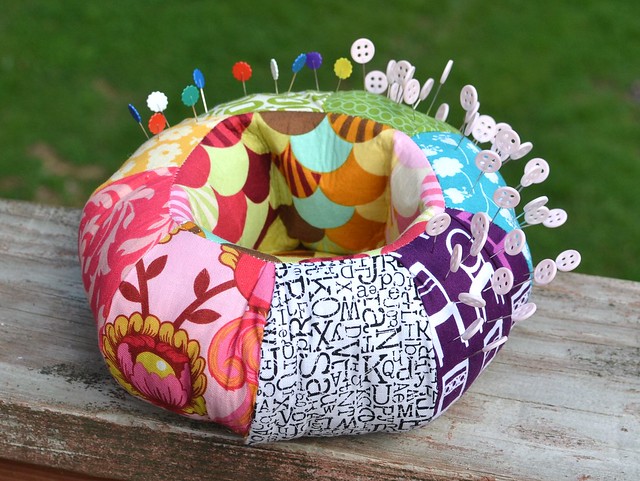
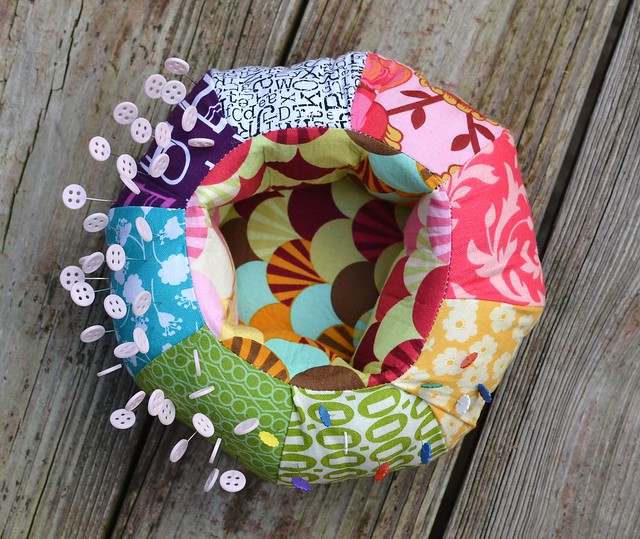
I wish I could see the bottom all of the time.  I should have made the inside bottom with this fabric.  Oh well, hindsight...
Pincushion Caddy
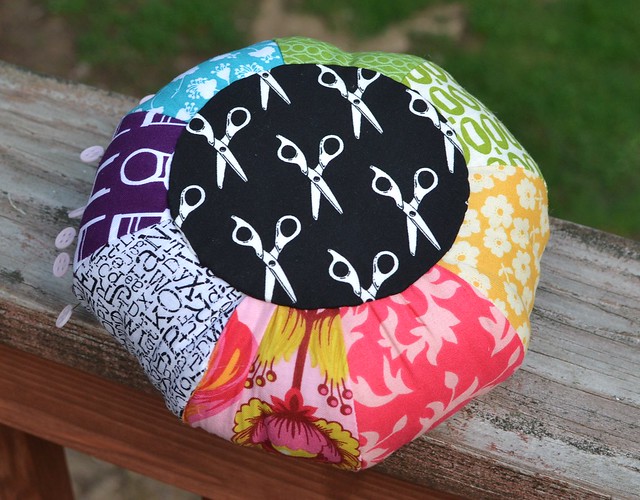
I way overstuffed it and forgot to use something to support the sides during stuffing.  I also got some puckers but don't mind too much.  Instead of polyfill maybe some rice or plastic beads would be a better filler to give it some weight.  Imperfections and all, I love it!  The project involved machine and hand sewing but nothing too bad.  It was a nice way to spend an afternoon.
Pincushion Caddy

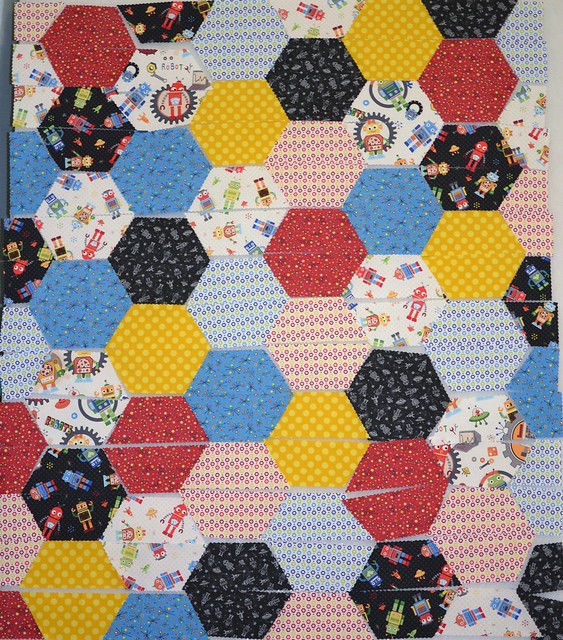
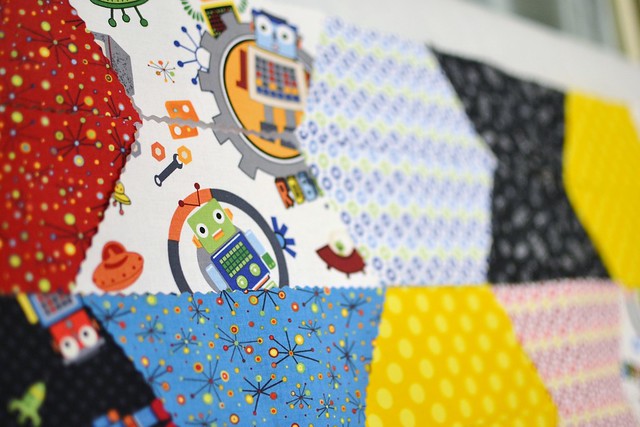
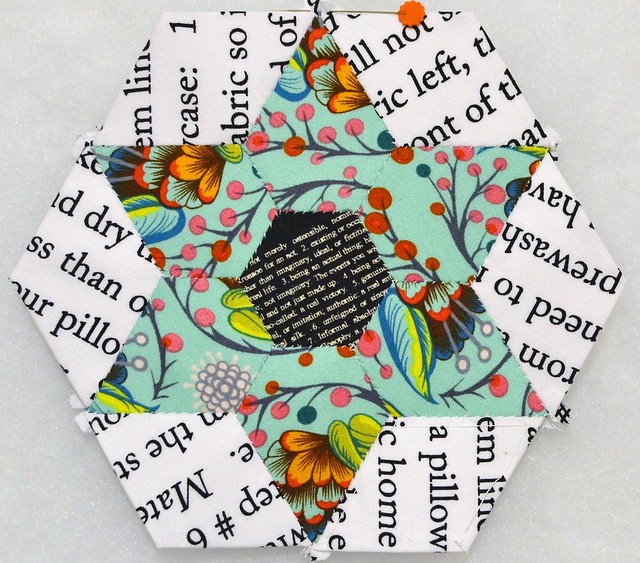
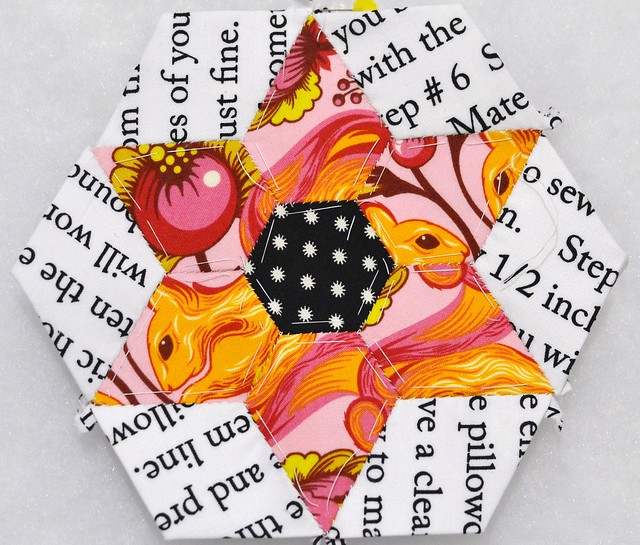
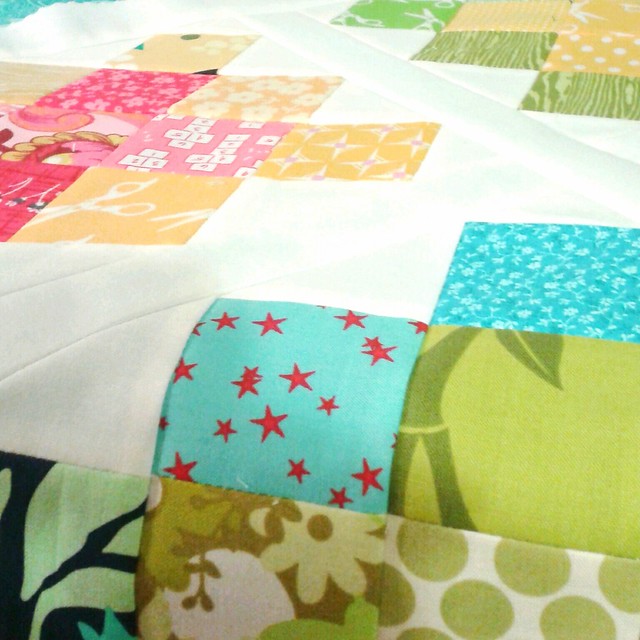
Here is the progress on the robot quilt.  I am going to start sewing these together soon.
robot hexagon quilt


Tuesday, August 21, 2012

Robo baby quilt start

You made it!  Thank you for taking the time to update your subscriptions and follow me over here.

One of my best friends is having a baby boy soon.  She really like robots so I bought this fabric for her quilt.  A hexagon quilt is on my sewing wish list and this fabric seemed perfect for the job.  I made myself a template and began cutting.

fabric for a boy quilt
I kicked that orange and red stripe out and substituted a yellow polka dot.
cutting half hexagons

I also made myself a design wall for about 17 bucks. It's much better than using the floor. here is as far as I've gotten.

on the design wall

On trips to the park I have been working on these jewel stars. I really enjoy English paper piecing. It's calming, and not as hard as I thought. Nice busy work for the hands.

jewel star

jewel star

I've gone from a whipstitch to a ladder stitch.  It looks much cleaner.

Thank you so much for taking the time to stop by.

Washi Dress

Last week Rae of Made by Rae released the pattern to her much anticipated Washi Dress.  After talking myself out of it for a few hours, I finally gave in and bought the pattern.  I am so glad I did.  The dress was fun to make, and so easy I was surprised.  I kept waiting for the complicated part but I never got frustrated once.  It took me a couple of days to make because of the boys and household stuff, but I think it could be done in a day with a few dedicated hours.  I do suggest cutting out everything one night and then have another day to put it all together.

The fabric I used is Wrenly Wildfield in Gypsy by Valori Wells.  How can you not love rainbow dandelions.  It was supposed to be for my Tova but the Washi Dress pattern seemed to be perfect for this fabric.  I love it so much and can't wait to wear it out.

washi dress

As I stated on instagram, I am petite at 5'2, but with 36DD nursing boobs. I cut out a size medium, made a muslin, and felt that I didnt need to do a Full Bust Adjustment.

washi dress

  The shirring in the back allows the front to fit nice and snug but not too snug  No boob smushing. 

washi dress back shirring
I didn't see any weird gaping on the sides either.  The only change I made was on the skirt part where I cut some off of the width of the dress.

side adjustment

 Next time I will just grade the pattern from a size medium bust to a small skirt.  I had to cut the pockets and resew them but it worked out fine.  The pockets are pretty sweet by the way.

washi dress

I like the bias tape to finish the armholes.
attaching bias tape

Its pretty on the inside too.

washi dress inside view

washi dress inside view

washi dress

In a wrap, I think this is a great pattern. Easy to follow instructions, with a great end result.  It feels so good to have made a dress I absolutely love!


Carry On Bag for hand sewing

Last night I stayed up way too late but it was worth it because I made this!

drawstring bag

I love it so much!  I used Jeni's (In Color Order) tutorial with Terri's (Sew Fantastic) pocket addition.

handy pockets

I made it to hold all of this stuff.


ready to EPP

This little bag of goodies was intended for road trips, but I may try to baste some pieces while sitting on the couch.  It will keep me from hearing the mister fuss about me spending too much time in my sewing room and not with him and the boys.  I have never tried English paper piecing before but I enjoy hand sewing binding so I think I will enjoy this as well. 
 I bought the Sewline pen but I also have thread as a good old fashioned backup.  There are only enough fabrics cut for 6 stars right now just to get started.  Rachel's Star Blossom tutorial is super helpful and she even has a video too.
I just realized I get to cross 2 items off of my list!  I cut my hexies and I made a bag for them, sweet!

What's everyone else working on?

Honey Girl Dress, Voile Top

I was able to cross two more items off of my sewing checklist.  I made my sister a dress for her birthday.  I used the Honey Girl Pattern by Jaime Christina.  This is the second dress I've made from this pattern.  It's pretty easy and makes a great summer dress.

Honey Girl dress for sis

Today I finally finished up a top for my mom.


For fabric, I used super soft Anna Maria Horner Innocent Crush Voile, purchased from Hawthorne Threads
I love Swedish Tracing paper.  Its so nice to not have to cut your original pattern, and its tougher than than pattern tissue paper.

voile top

I used bias binding to finish the edges instead of facings.  Here is a great tutorial on how to do it from the Collette blog.  It took me a few times to get it right.  The width of the bias tape I was using was too wide originally, and so I was getting all kinds of awful bunching when I tried to flip it over.  I trimmed my tape to 1" wide and then things finally went smoothly.

Untitled

adding bias facing neckline

finished AMH voile top

I can't wait to see my mom in it!

I've been making random granny squares when I can.  I've made four and thats about as far as I want to go right now so I am going to make a wall hanging.

Untitled


My favorite block.

Untitled

And finally some new favorite fabrics added to the stash.

Untitled

Now I think I can get started on my Tova.

Sand Dollar Pillow

I made myself a summer sewing project check list the other day.  It had 9 items on it, and this week I was able to cross one off as completed. 

I finished a new pillow I have named the Sand Dollar pillow because of the way the quilting came out.  As soon as I saw Jessica at Sew Crafty Jess's gorgeous Summer Scoops Scallops quilt I really wanted to make something with those shapes.  I used my Accuquilt Go Baby! for the majority of the cutting. 

I think I didn't love it at first because I had stared at it too long, but now it has grown on me and I'm pretty pleased with it.  I really want to get better at color selection.  I want to throw every pretty fabric I own in there and it gets unbalanced.  Here I see too much green.  I love red, I should have thrown in some red.

Basted

The quilting from the back.  I intended to use Elizabeth's Dogwood method shown here.  Instead I decided to go diagonally and my arches were more like waves.  I did this with my walking foot.


I added some piping using some Peacock Lane and a zipper foot.
 I used the "how to make a pillow" fabric for the back.
  Text prints are so hot right now (in a Paris Hilton voice).

I also added an invisible zipper shown here (pun intended).

And here it is one more time for good measure.  It finished at a size of 19 x 18 inches.


Next on deck is a the Honey Girl dress for my sisters birthday, if I can get it done in time.  I made one last year and it came out nice.  The shirring is a bit tedious but the end result is worth it.  I love cutting everything with a pinking rotary blade, its so fun!
I also downloaded the super popular Wiksten Tova pattern.  I cant wait to get crackin' on that either.  It's on the list so, in time.  Hope everyone has a great weekend!

Melissa


Swoon In Peacock Lane

My Peacock Lane Swoon quilt is finally done and I could not be happier!  I now truly understand the term a "labor of love."  This is the biggest, prettiest thing I have ever made.  Everytime I look at it I scream with joy on the inside.  It feels good. 

I quilted it in a crosshatch pattern, which I think compliments the pattern.  I did think about getting it longarmed, but I'm glad I did it myself.  Even the simple straight line quilting was a workout because of the size of the quilt.  I have never worked with that much fabric.


For the back I used two of my favorite fabrics from the collection bordering a scrappy rainbow strip.  I wanted it to be as pretty as the front, and I love how totally different it is from the front too.  I went with turquoise for the binding and I handsewed it on while Grandma was in town attending to the boys. 


I feel like a weight has been lifted.  I can finally start something else and not have that nagging feeling of having a massive unfinished project staring at you.

The fabrics are the Peacock Lane collection by Violet Craft
Pattern is Swoon from Thimble Blossoms by Camille Roskelley.

I may try linking up to some places if I can figure out how to do all that.

I hope everyone is having a great summer so far!

Melissa