Monday, December 31, 2012

Pillowcases for Newtown

Via Facebook, I found out about the pillowcase drive The Quilter's Corner was having for the children of Sandy Hook Elementary School.  My very modest stash consists of mostly fat quarters and a few half yard cuts.  Peg from Sew Fresh Fabrics so generously sent me some yardage to make pillowcases for the Newtown survivors.  I had some half yards that surprisingly coordinated with what she sent and this is the result.  Like she said, it felt good to do something tangible to help.
DSC_1252
Wishing you all a very Happy New Year!

Melissa

Friday, December 28, 2012

Open Wide feather pouches

Hi!  A quick rundown of what I've been up to lately.

Some strip piecing

DSC_1093
Led to a lot of these, scaled down versions of Anna Maria Horners featherbed pattern
DSC_1095
Some patchwork
DSC_1097
Pretty pouches for Christmas gifts.
A few tweaks need to be made with feather placement, but I like it!
The other side
DSC_1239
DSC_1136
DSC_1142
DSC_1238
DSC_1240
I think I'm keeping the yellow one for myself :^)  I used Noodlehead Anna's Open Wide Pouch tutorial.  It was fun to make these and I hope the recipients liked their gifts.
Next year I will start my handmade Christmas sewing in July.  Maybe, just maybe, I will be done in time.

Monday, November 26, 2012

Christmas Sewing


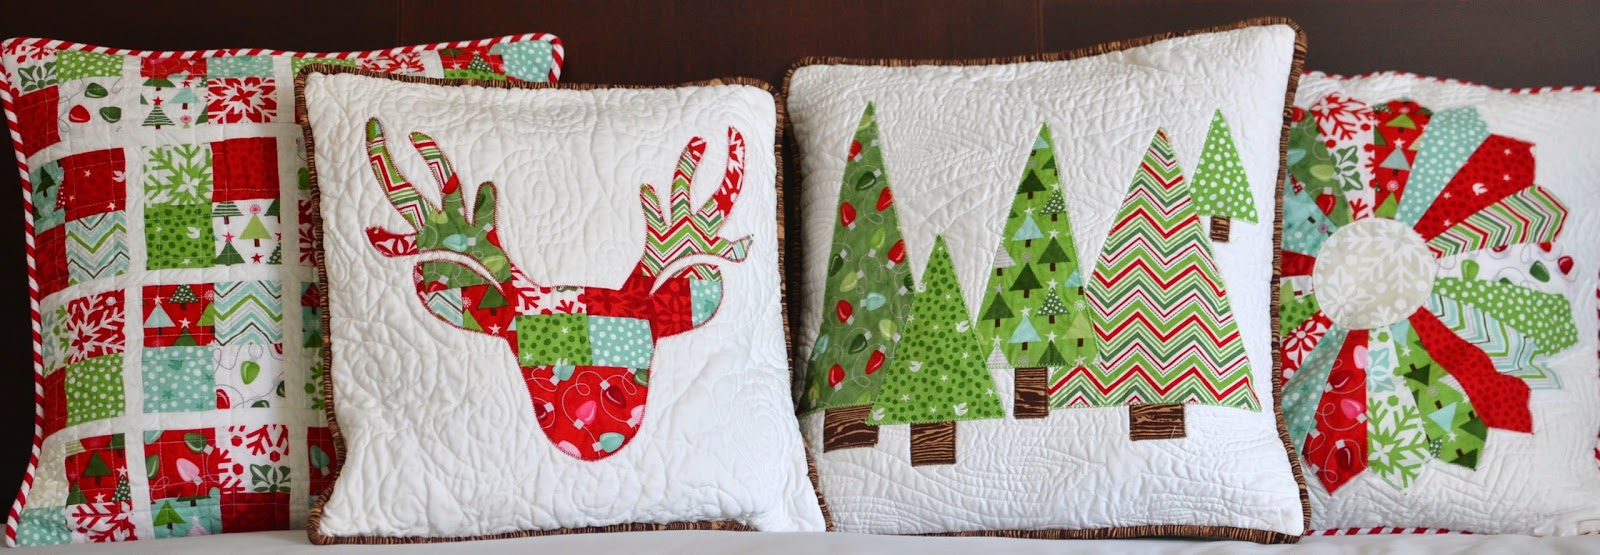
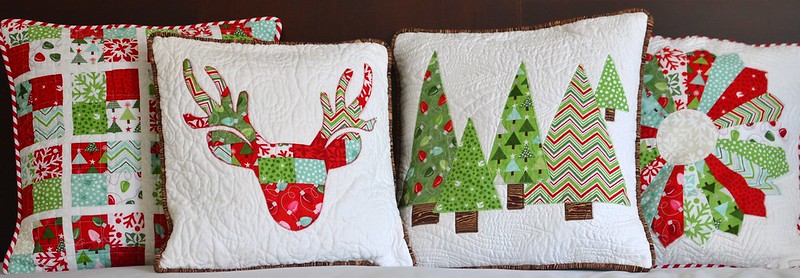
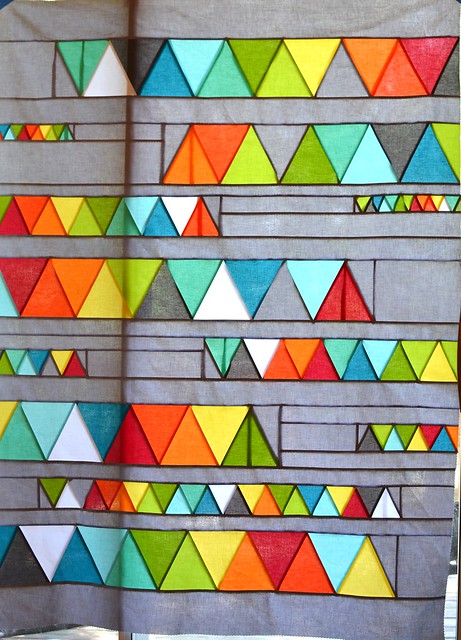
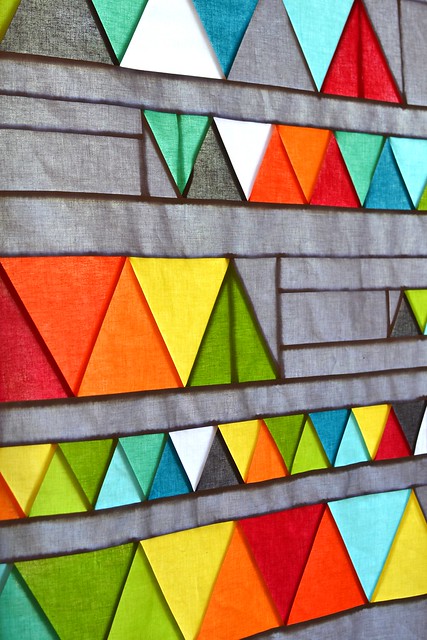
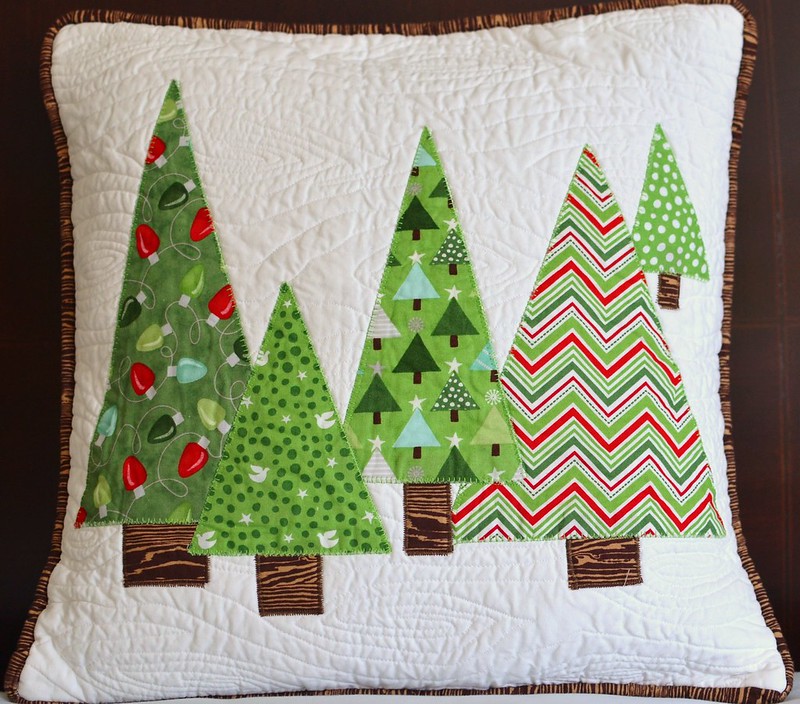
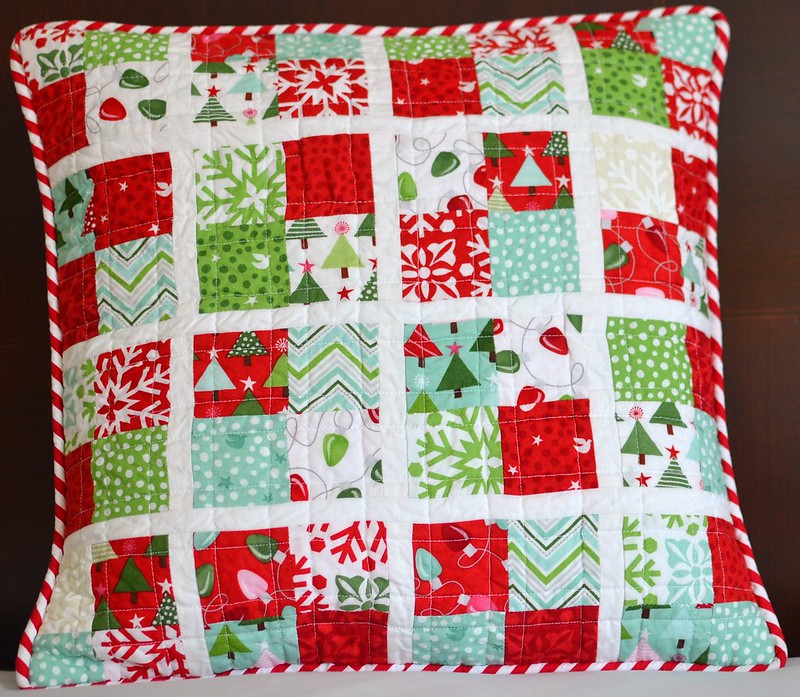
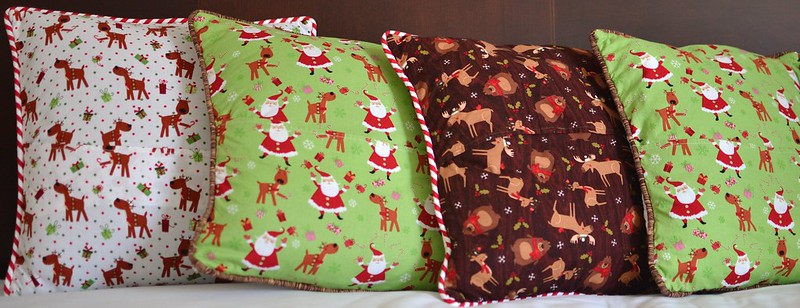
The pillow covers for my mother in law are done!  I really love them.  My goal was to make them modern but still have a  warm homey vibe to them.  I found a bunch of inspiration on flickr and went from there.
I pushed my quilting by attempting patterns in the book "
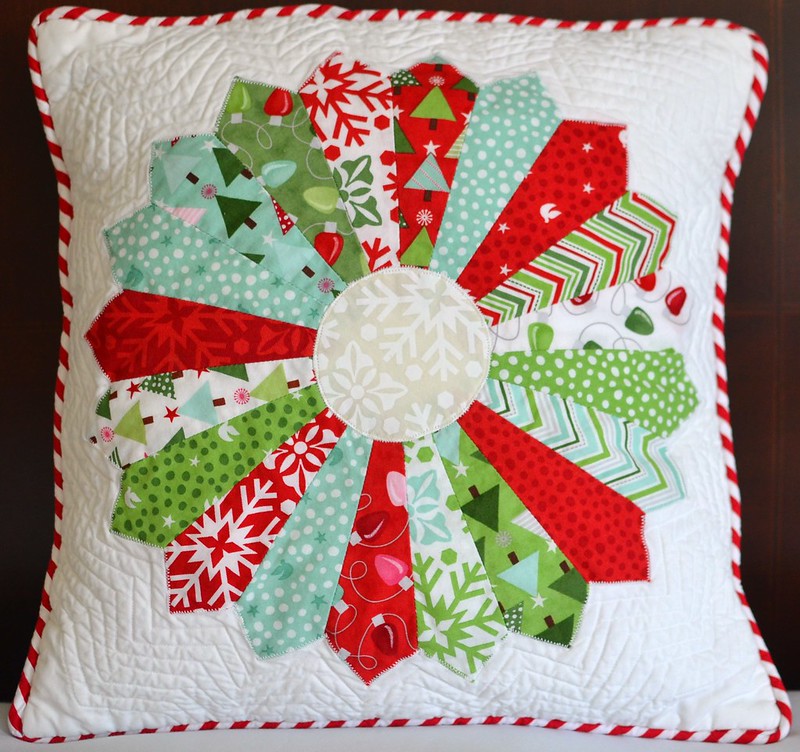
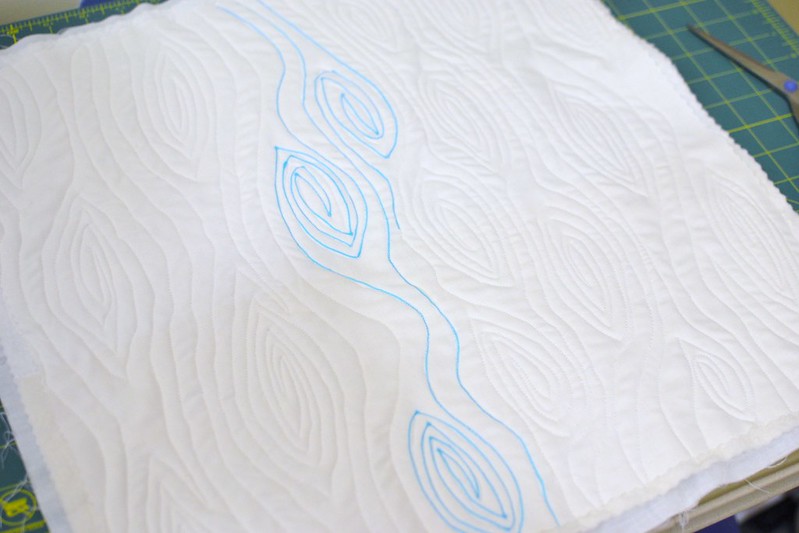
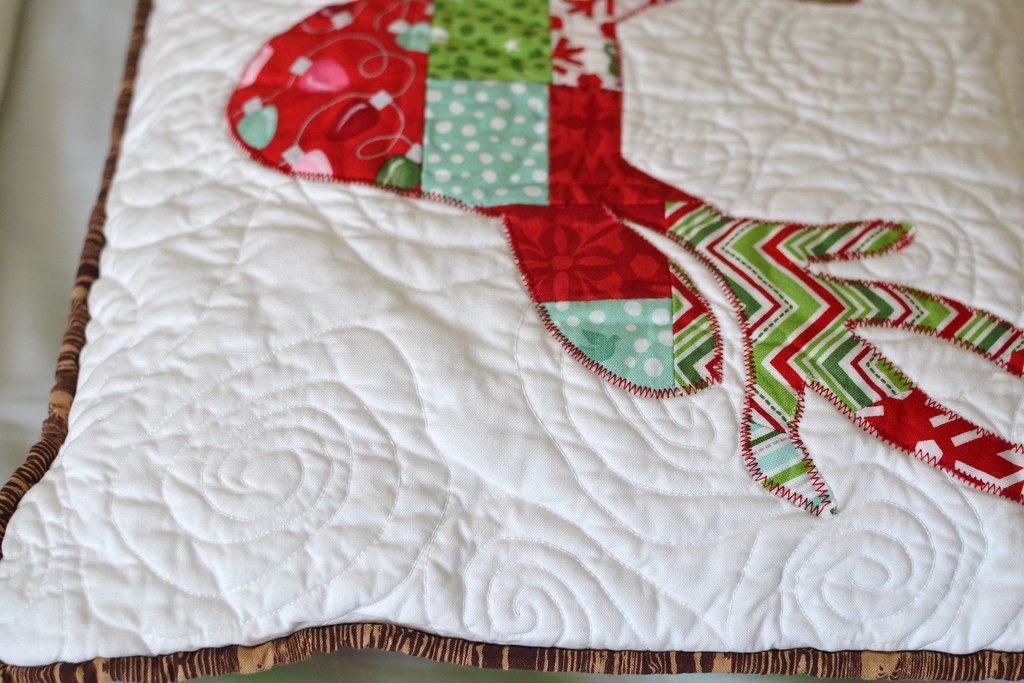
Free Motion Quilting with Angela Walters."  This book is so beautiful to look at and definitely inspiring.  I was really proud of my wood grain quilting.  It was fun to try and gave a lovely result.  The attempt at concentric circles didn't leave me too happy at first, but after the cases were washed it looks a whole lot better.
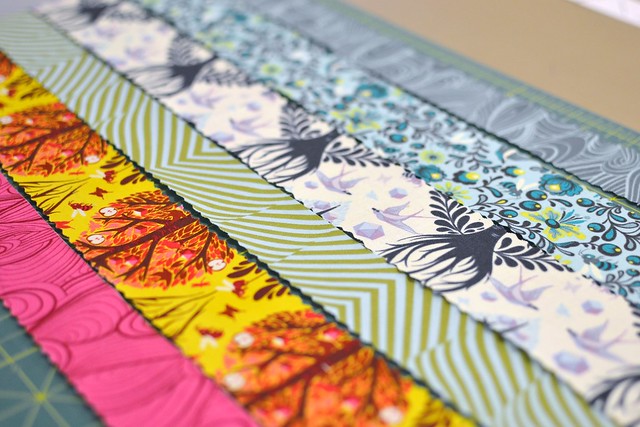
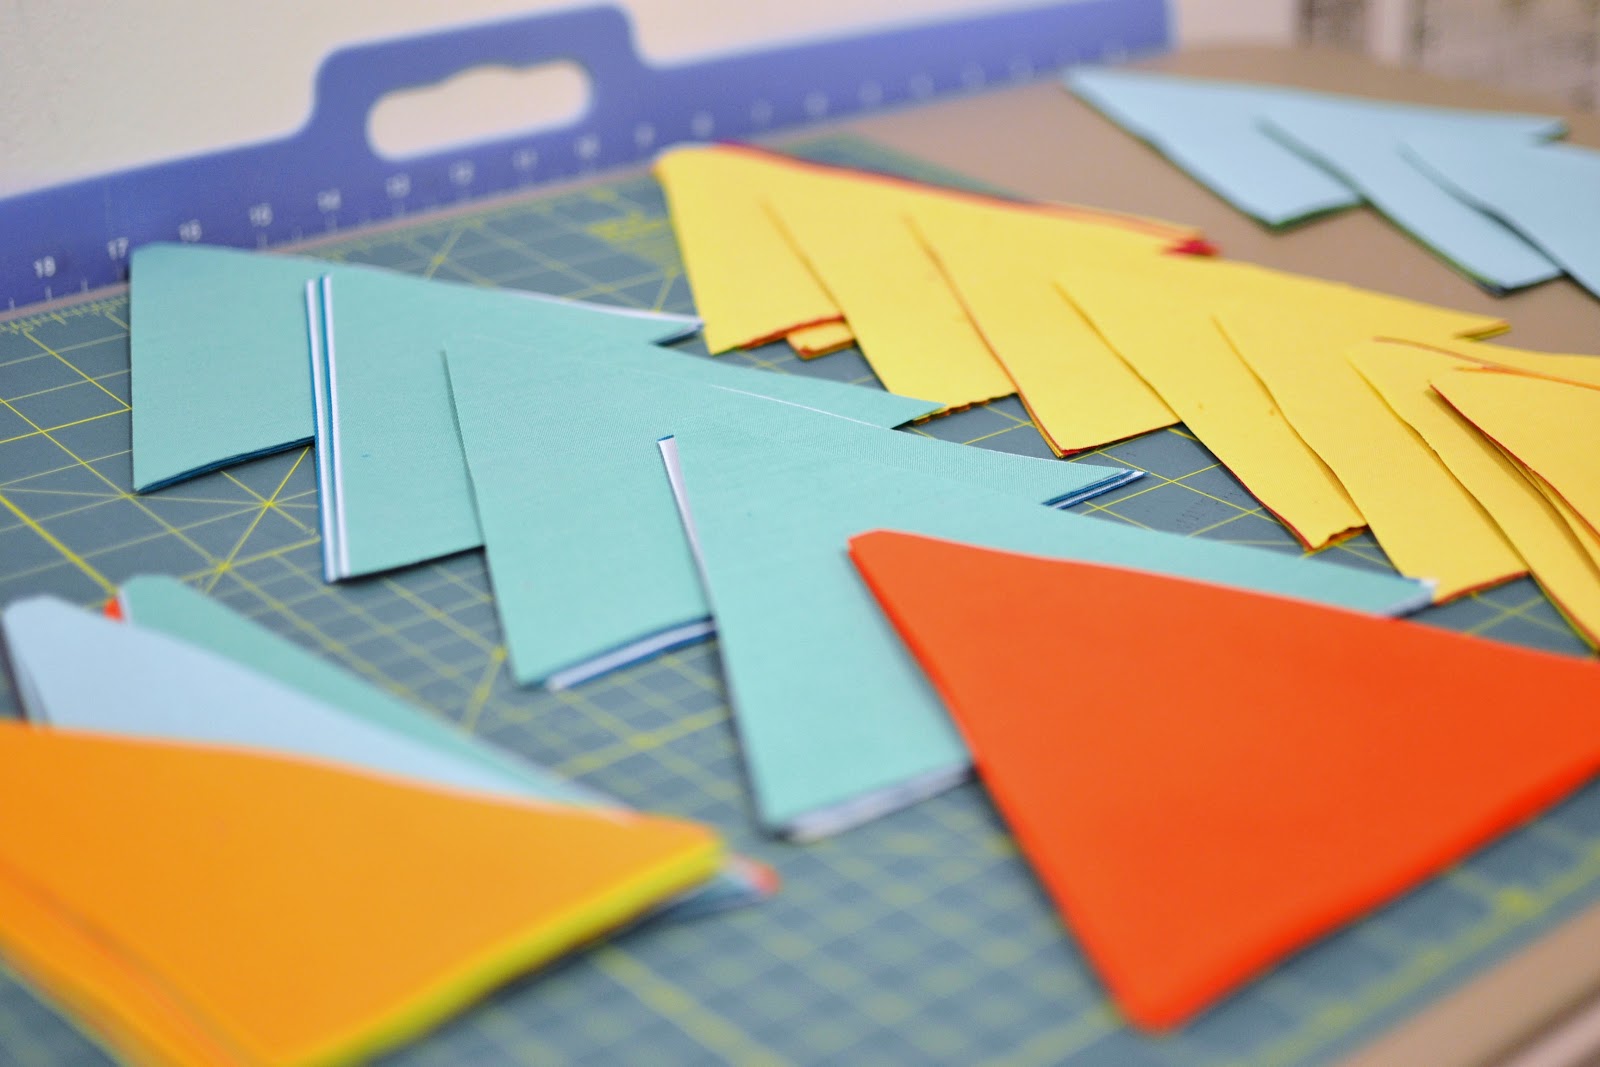
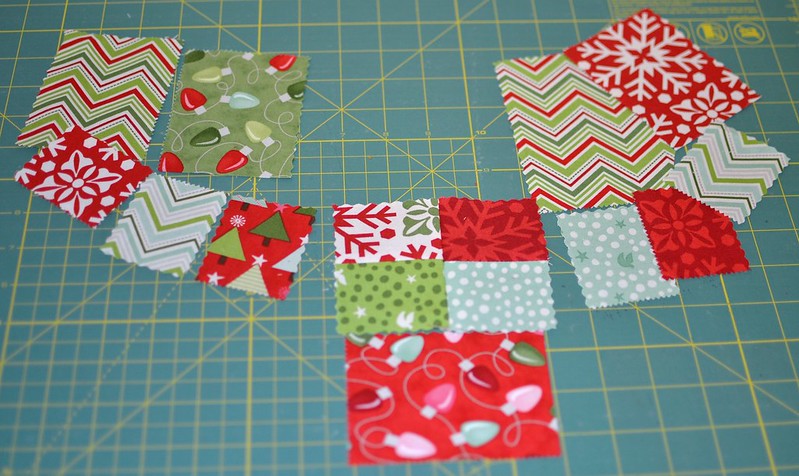
Less than half a layer cake was used to make these.  I bought it from Pink Castle Fabrics via an instagram sale. I have enough left to make some more Christmas gifts.
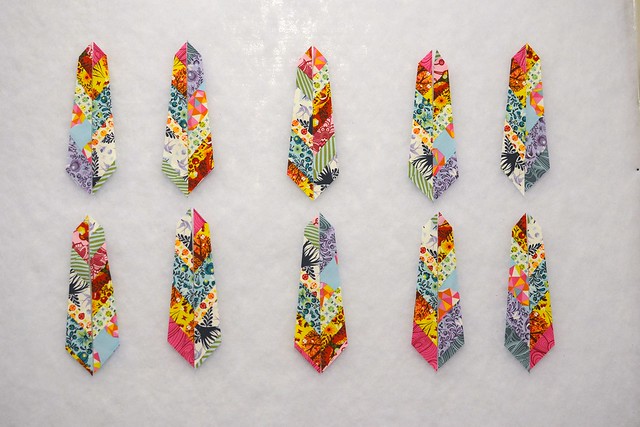
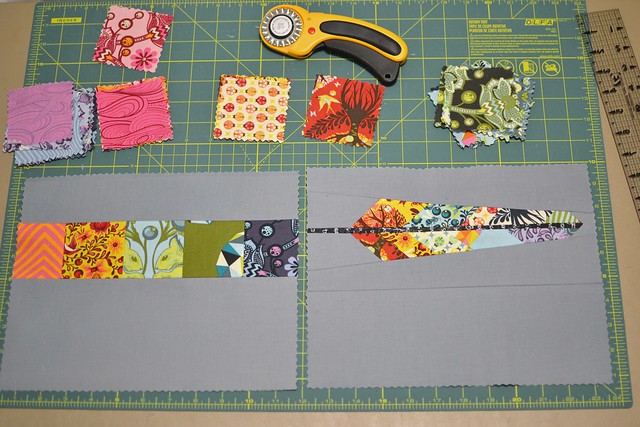
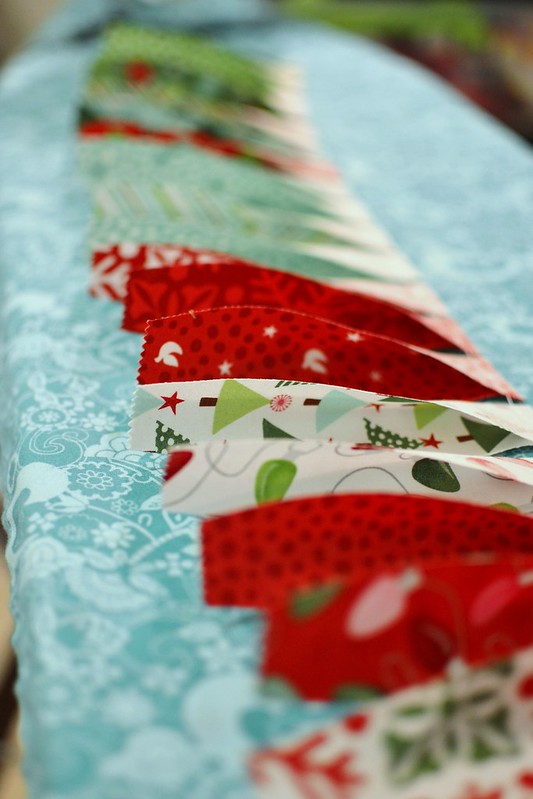
DSC_1082
 
Dresden blades
DSC_0899
DSC_1075
DSC_1086

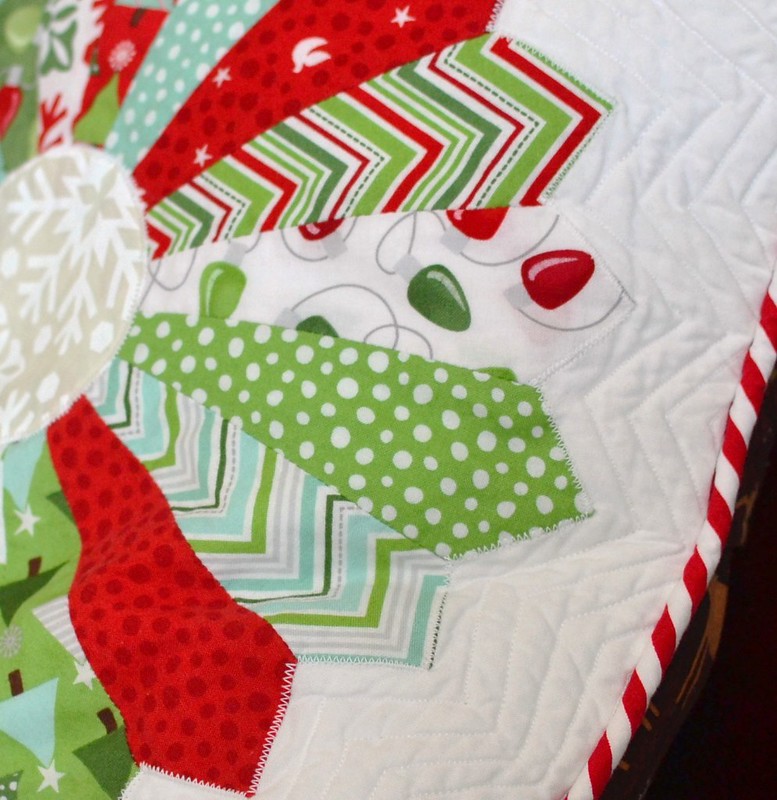
First time trying this wood grain technique.  I started with some marking lines to get the hang of it.  I also went in an up and down motion instead of side by side.  It felt easier to me that way.
DSC_0939
DSC_1074
DSC_1077

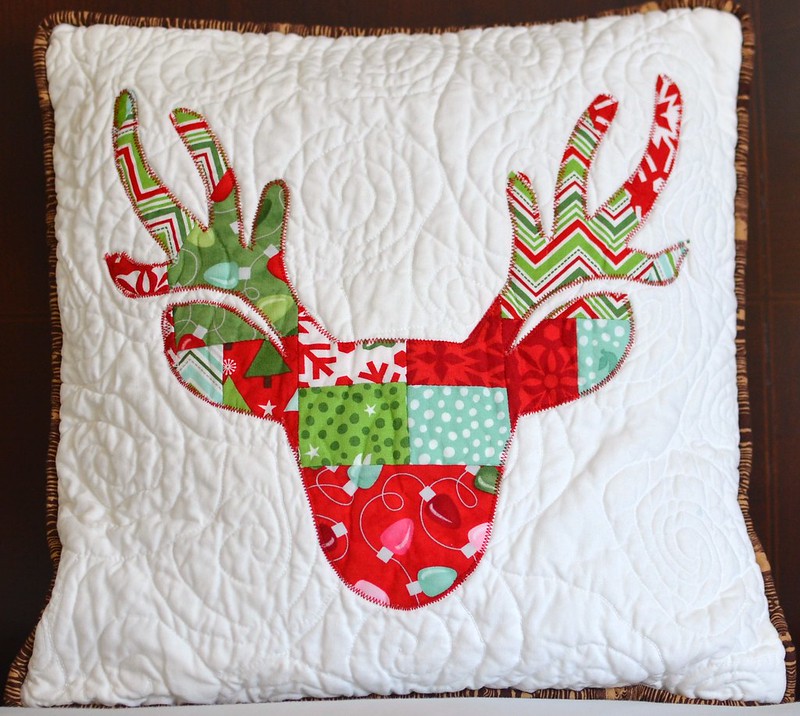
A reindeer in the making.  (November 2013 Here is an update on how I did it.) 
When I made it last year I was looking for the perfect deer head silhouette.
This is the link to the one I used
http://www.itsoverflowing.com/2012/10/no-sew-pillow-antler/

What I did was trace the shape on my computer screen,  outlined it in a black sharpie, and then enlarged it by copying and printing it at a larger size. Hope that helps :)
DSC_1067

It was not intentional to have him look like he had shades on but I think it makes him cooler.
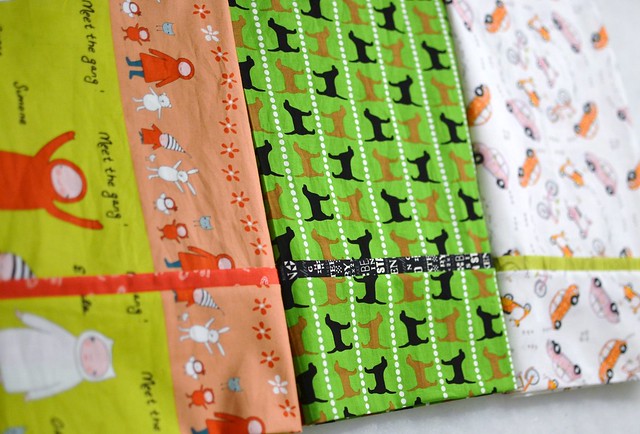
DSC_1079
DSC_1087
DSC_1090

Fabrics Used:
layer cake of Joy by Kate Spain for Moda
Aviary Woodgrain by Joel Dewberry
Kona Snow
Michael Miller Clown Stripe in Red
Backing - Christmas collection fron Joanne's

Sunday, October 28, 2012

Sew or Blog, not both

Where does the time go?!  I have been sewing, it just comes down to time in front of my machine or time in front of my computer.  I choose the sewing machine every time, I'm sure you understand.  So here is a quick rundown of what I've been up to.

First the silent auction quilt.  Well,  I decided to be selfish at the last minute and kept the triangle quilt for myself.  Instead I pulled out a WIP I had started 2 years before.  It was a tumbler quilt kit I had purchased on ebay.  I got about half way through and then it sat for a long time.  I finished the patchwork, quilted wavy lines throughout, and attached the binding, all in one night.  My favorite part of the quilt is my personalized label!  Cassie from GutenTags on etsy was awesome enough to ship a few labels to me super fast even though she was in the middle of unpacking after a move and her shop was closed.  I'm so thankful to her.  She really is the best and the labels are great!


Next finish was a baby quilt for my best friend.  Her baby boy should be arriving any day now.  She loves robots so this is what I made for her.


I also made her this stuffed robot to go along with the theme.

 
The pattern is from Danger Crafts on etsy.  It's not bad if you've made a doll before, but I wouldn't reccommend it for a beginner.
 
What happened to the triangle quilt you ask?  The back is pieced and it is basted.  I'm still trying to figure out how I want to quilt it.  Here is a shot from when I was playing with the layout for the back.

Oh yeah, this also happened 2 weeks ago.  I fell and fractured my foot.  Thankfully it wasn't my sewing foot, lol.  I'm doing much better now.

 
More projects in the works to share.  I just don't want to overload this post like I already have.  Hope everyone is doing well.  Thanks for reading.
 
Melissa


Saturday, September 15, 2012

Triangle progress

Last night I stayed up until 3 in the morning working on this thing.  It is not even finished yet but already beats the pants off my Swoon quilt as my new favorite.
Here is the finished quilt top hanging in the sunlight.  I love seeing patchwork that way.  It's like gorgeous stained glass.
patchwork in the sunlight


Mod Triangles in progress
 
Now, it is on to the back.  Not sure how I'm going to work that out yet.  I'm also thinking about binding already.  For some reason the Tangerine is sticking in my head.  Not sure though.
 
Side note:  I just want to thank everyone for stopping by and leaving such positive and motivating comments on my previous post.  I appreciate you all taking a moment to visit.  Most of all, thank you so much to Lee of Freshly Pieced for hosting WIP Wednesdays.  It's great to have a place to share with people who have the same passion, and understand where you're coming from.  Hope you're all enjoying your weekend.
 
Melissa


Monday, September 10, 2012

Mod Triangles

A girlfriend of mine asked me if I'd like to donate a quilt for a silent auction where all proceeds go to a specific charity.  Of course!  I think it will be interesting to see what people are willing to bid for my work.  Plus, any reason to start a new quilt is a good reason.  With all the triangle quilts out in blog land lately I had to get in on the action.  Recently, I purchased a copy of "Free-Motion Quilting with Angela Walters" and I fell in love with the Mod Bars quilt by Alissa Haight Carlton.  I decided to combine the two.  This is what I have come up with so far.

It started with a bundle from Fresh Modern Fabric on Etsy.  This is the Quiltcon bundle with Pomegranate substituted for medium gray.  Awesome shop, excellent customer service and, super fast shipping!  I purchased my Tri-Recs Tool from Joanne's with a 40% off coupon, win!

 
A night of cutting.
 
A few nights of designing the layout, and this is what I've come up with.
 
I plan on using medium gray for the background.  I'm so excited about this quilt!  It is my first time using solids only.  I think once it's finished I'm going to have a hard time parting with it.  The auction is September 21st so I have to get crackin' on this thing. 
 
On another note, yesterday I was able to whip up this easy peasy Moby style sling for 21 bucks!  It took all of 15 minutes maybe between serging and french seaming.  My lil potato loves it!
 
home made moby style sling
 
 Enough typing and more sewing.  I am going to attempt to link up to WIP Wednesday over at Freshly Pieced.  Thanks for visiting!
 
Melissa

Monday, August 27, 2012

Pin Cushion Caddy

The weekend started off rainy here, which was perfect for staying home all day in pajamas and sewing.  I was able to make myself a cute pincushion caddy!

Pincushion Caddy
 
The pattern is from Anna Maria Horner's book, Seams To Me:  24 New Reasons To Love Sewing.  It's one of her older books so I found it pretty cheap on ebay with free shipping.  After reading a few reviews on the pattern I was a bit worried about it beeing too complicated.  I could not have done it without the help of Melanie's tutorial at Texas Freckles.  All of the pictures and instructions were so helpful.  The pattern pieces were cut Friday night and by Saturday evening I had myself a caddy.
 
Pincushion Caddy

DSC_0687

I only needed to cut one piece from the pattern.  The rest of the way I followed Melanie's instructions to get a custom fit tube and bottom.
Pincushion Caddy

Instagram progress
Joining the ball & tube


upload

I wish I could see the bottom all of the time.  I should have made the inside bottom with this fabric.  Oh well, hindsight...
Pincushion Caddy
I way overstuffed it and forgot to use something to support the sides during stuffing.  I also got some puckers but don't mind too much.  Instead of polyfill maybe some rice or plastic beads would be a better filler to give it some weight.  Imperfections and all, I love it!  The project involved machine and hand sewing but nothing too bad.  It was a nice way to spend an afternoon.
Pincushion Caddy

Here is the progress on the robot quilt.  I am going to start sewing these together soon.
robot hexagon quilt