Showing posts with label modern quilting. Show all posts

Monday, July 15, 2013

The blues and some more triangles


When I first saw this gorgeous pillow and tutorial a while back I instantly fell in love!  I immediately placed my order with Peg of Sew Fresh Fabrics and requested the exact same bundle of Kona Cottons in Ice Frappe, Aqua, Azure, Bahama Blue, Peacock, and Surf.  The bundle sat for a while until I was in the mood to make the pillow. 
A few weeks ago one of my best friends got married.  I had the honor of being one of the bridesmaids in the ceremony.  For a wedding gift I knew I was going to go the handmade route of course, but I wasn't sure what exactly to make.  Then I remembered that my girlfriend has a lovely collection of cobalt glassware on display in her living room.  Boom!  Enter my lovely bundle of blues.  I do not own a Sizzix cutter so I made my own bottle template and decided to follow the tutorial to a T.  Why mess with perfection right?  I couldn't gift just one pillow and still had plenty of fabric left for another and so I made the other pillow.  I don't know why, but again I went with triangles.  I think I need a triangle intervention :)  Really though, I think the triangles compliment the waves of the other pillow so nicely. 
 For the backs I used a Denyse Schmidt print from Joanne's and Svetlana's tutorial for a hidden zipper closure.  This is definitely my favorite method for finishing pillows.  I don't like doing it any other way anymore.
As usual, all the good stuff I make is always for other people.  I really need to start making some awesome stuff to keep for myself.  One day I guess. 
I will leave you all with a few shots from the wedding.  Seriously, it was the best and most beautifully styled wedding I have ever been to.  The theme was vintage everything.  It was lots of fun to get to wear an old 50's hairdo (which I did myself).
 Vintage ladies.  Aren't the colors lovely?
 The gorgeous bride and I.
Thank you all for reading!  Hope everyone is having a great summer!

Melissa
Thursday, April 25, 2013

FLiQ Mini

This mini was made for the Flickr Fab Little Quilt Swap.  My partner said she liked bright colors, especially red and turquoise together.  This design was totally inspired by The Elven Garden's Tesseract Mini.  It was so lovely I had to try the design for myself.  I referenced Don't Call Me Betsy's Kaleidoscope Quilt along for cutting and piecing directions. The triangles I used were smaller than her templates so I ended buying a kaleidoscope ruler from my LQS to help with precise cutting.
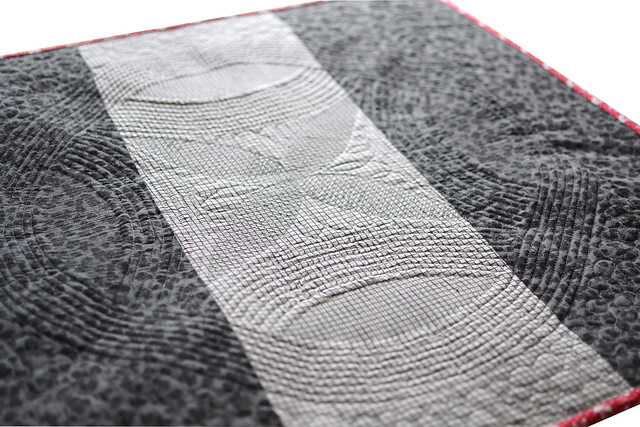
I FMQ'd the background areas and then used a template to trace the curves in the colored parts.  I quilted those areas with my regular sewing foot.
 
I like the flower shape in the middle and the corners.
  I worry it may be a little too bold because my partner kinda went silent on me.  Maybe she didn't like the direction I went, not her style?  I enjoyed making it.  It's a really fun block to put together.  I enjoy working with triangles.  That Architextures print makes for such a great background too. 
This mini finishes at 24" square.  I bound it in a some shade of Kona red.  I hope it makes her happy.  On to the next project :)
 
Melissa


Tuesday, April 23, 2013

Circle Celebration Pillow

This little pillow was made for my second time participating in the X-Factor Pillow swap.  The theme was circles.  I wanted to do something different but wasn't sure in what direction I wanted to go until I saw this photo full of amazing paper pieced blocks made by Wombat Quilts.  Those blocks are seriously stunning!  Something about the Celebration block stood out to me and so I decided to go with that one.  I've foundation pieced before and I enjoy the process but man oh man did this block kick my butt!  I screwed it up so many times.  This was almost the pillow that didn't happen.
Here is the 1st block I made.
I was so excited because I used a color wheel to choose my colors.  I wanted to get away from my rainbow comfort zone.  When I was done I just didn't love it so I decided to go back to a rainbow design. 
A word of advice, although it may be relaxing, don't drink and paper piece.  I had to unpick seams more than a few times.  Even when I hadn't been drinking I still messed up despite being super careful.  Can you spot the mistake?
 
Frustrating for sure.  I almost gave up at the thought of having to cut more fabric to redo the segments, and although my instagram friends said it wasn't that noticeable I couldn't send it out in the world knowing it was off.  So I cut the pieces again.  For the quilting I decided to go with straight lines to highlight the design of the block.
And then came the binding issue.  I love piping on a pillow and so I tried it on this one, with this result.
Terrible, hated it, bring on the seam ripper once again!  In the end it was better without anything.

For the back I used Roses in Celebration from the Valentina collection.  I also used Svetlana's awesome tutorial for a hidden zipper closure.
For all it's trouble, in the end I'm glad I stuck it out and finished this little pillow. 
It finishes at 15 inches square.  I used Kona Ash for the background.  The free block pattern can be found at Quilting On the Square along with lots more blocks.


Thanks for reading!

Melissa
Thursday, April 4, 2013

Swappy Awesomeness

Hi everyone!  First off, thanks to those of you who followed me over on Bloglovin', and welcome to my new readers.  I have been busy sewing, hence the lack of blogging.  I will try to aim for at least one post a month.

I want to share with you the awesome stuff I've received from my recent swaps.  My first ever swap was with Jessie of Inside The Paper Box.  There is so much I love about this mini, the tiny little squares, the different shades of color and how they flow into each other, but most of all the quilting.  My picture doesn't do it justice.  Over to the right hand side are the loveliest flowers.  It's so perfect and I'm honored to have it hanging in my sewing room.  Thanks again Jessie for being such a great swap buddy!  You can see what I made for her here.


After getting my feet wet with the private swap, I was lucky enough to join the X-Factor Pillow swap on Flickr.  This beauty was voted number one and I got it!  There are no words to express how happy I was to get this one.  It came all the way from Germany and was made by Johanna.  Her work on flickr is amazing!  Even though its a pillow, I have it hanging in my sewing room so my 2 boys can't destroy it.  This one truly brings me joy every time I see it.
Swap #4 - Entry #10
The back is pretty too!
X Factor Pillow received - back

I'm in 2 more swaps going on right now and then I think I will take a break for a bit.  I'm participating in round 5 of the X Factor swap and also the Fab Little Quilt Swap on Flickr.  I can't reveal the pillow I made for XFactor yet but here is a mockup of my plan for the FliQS.

I need to get cutting for this one.  I think it's gonna be pretty cool.  Thank you for reading!

Happy sewing,
Melissa
Wednesday, January 30, 2013

Pickledish Mini

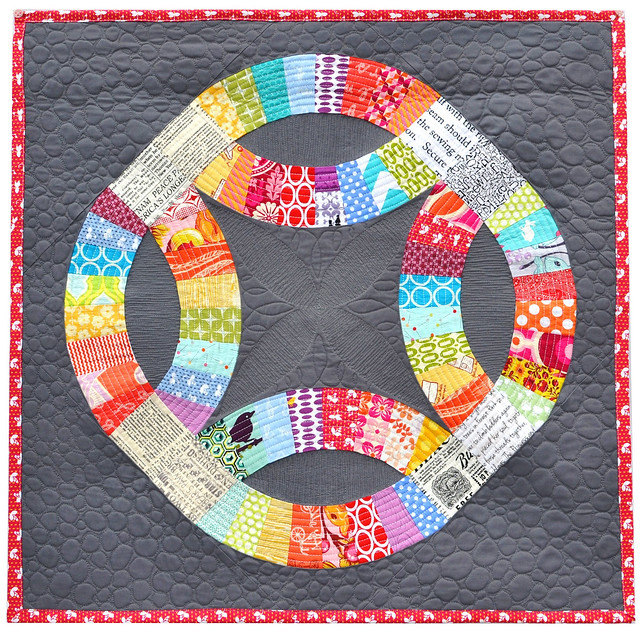
I am so excited to finally share with you the mini I made for a swap with Jessie of Inside The Paper Box.  Advance warning:  there are A LOT of pics in this post. 
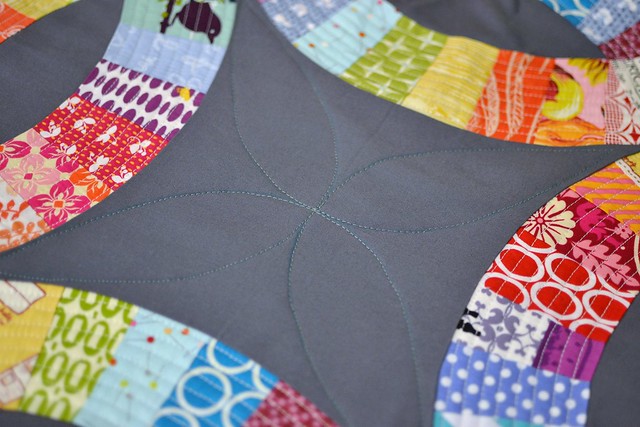
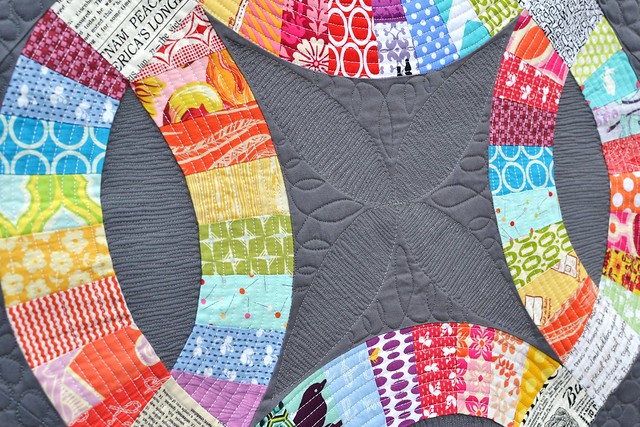
I've been wanting to participate in some swaps on Flickr, but they all require prior swap experience and I had none.  I posted a message on instagram and Jessie so kindly volunteered to do a private swap with me to help build up my swappy street cred.  We posted inspiration collages and went from there.  I was so happy to see that one of her picks was Aneela's Pickledish block.  I've had this block bookmarked for a long time but never a reason or the time to actually make it.  And so here was my chance!  Jessie's only direction was that she liked scrappy. 
 
I have a very modest stash so everything I pulled was a favorite.
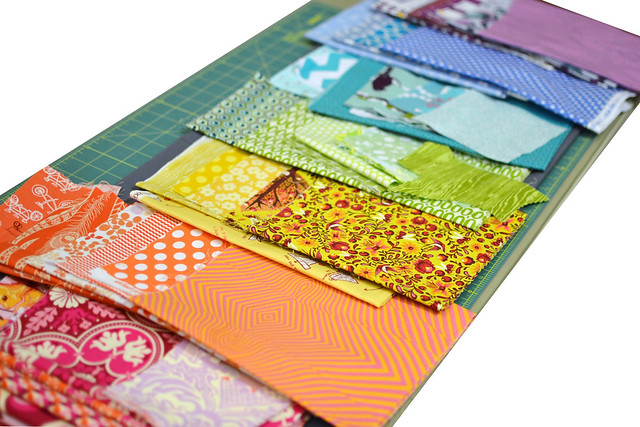
fabric selection
DSC_1353
The first few arcs were a bit tricky but then I got the hang of it.
DSC_1351
I included all of my favorite text prints for the cornerstones.
DSC_1354
Planning the layout.
DSC_1355
Pinning is crucial with these, but sewing the curves was no problem at all.  I found it very relaxing.
pinning the curves
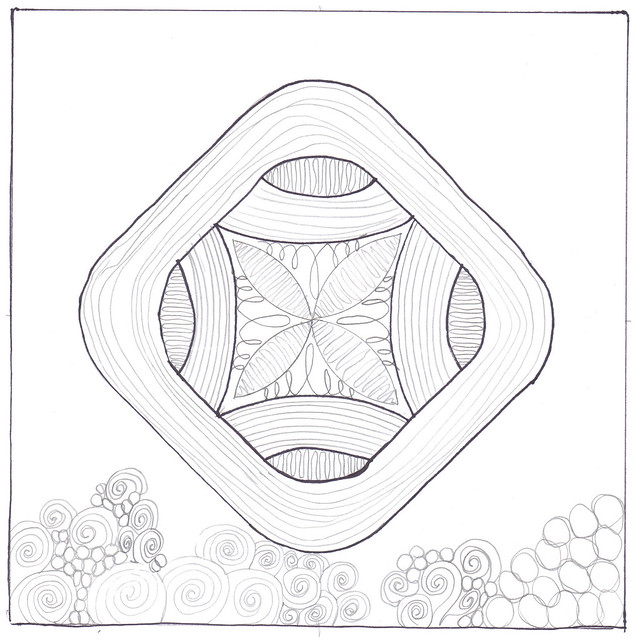
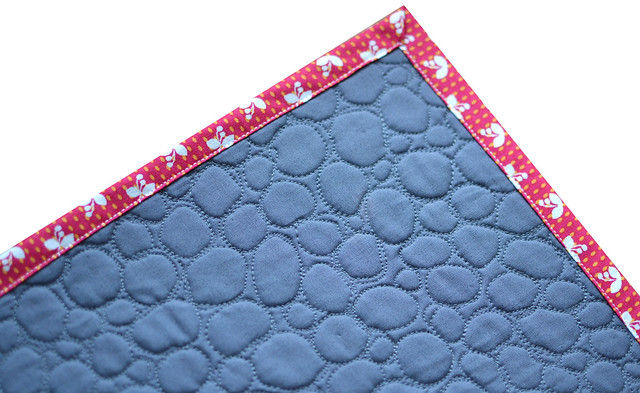
Before I started any quilting, I sketched the block out and planned how I wanted each space to look.  My quilting was definitely inspired by Angela Walters.  I turned to both of her books and her Craftsy class for guidance.  I had planned to include swirls and circles in the background, but my skills aren't up to par yet.  I kept with the pebbles which was fun and not too difficult for my first time trying them.
quilt doodle
The only lines I actually marked were for the center quilting.
marking my quilting lines
At first I was having major tension issues and getting these weird knotty spots on the back.  Then I posted a pic on instagram asking for tips.  Within minutes I had some great suggestions and after a quick cleaning, needle change, and putting my feed dogs UP, it was smooth sailing!  I love instagram!
tension issues
DSC_1411
Pickledish mini
DSC_1425
Machine stitched binding.
pebbles
A view of the back.
backside view
I really had a great time making this mini.  I hope it is enjoyed in its new home.  Thanks to Jessie for the opportunity.  And thank you for reading!  :^)
Melissa
Linking up to Finish It Up Friday over at Crazy Mom Quilts.

Monday, November 26, 2012

Christmas Sewing


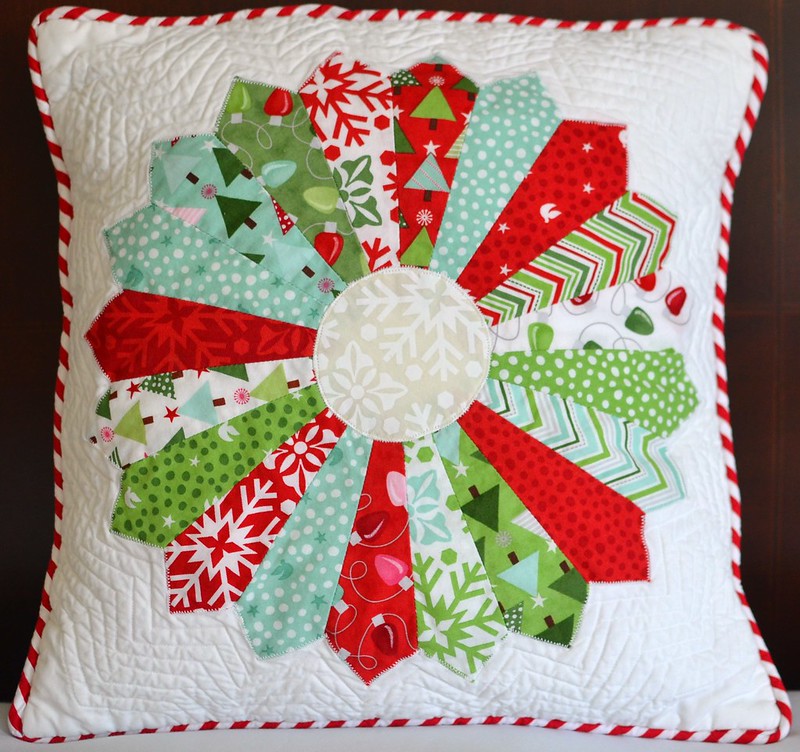
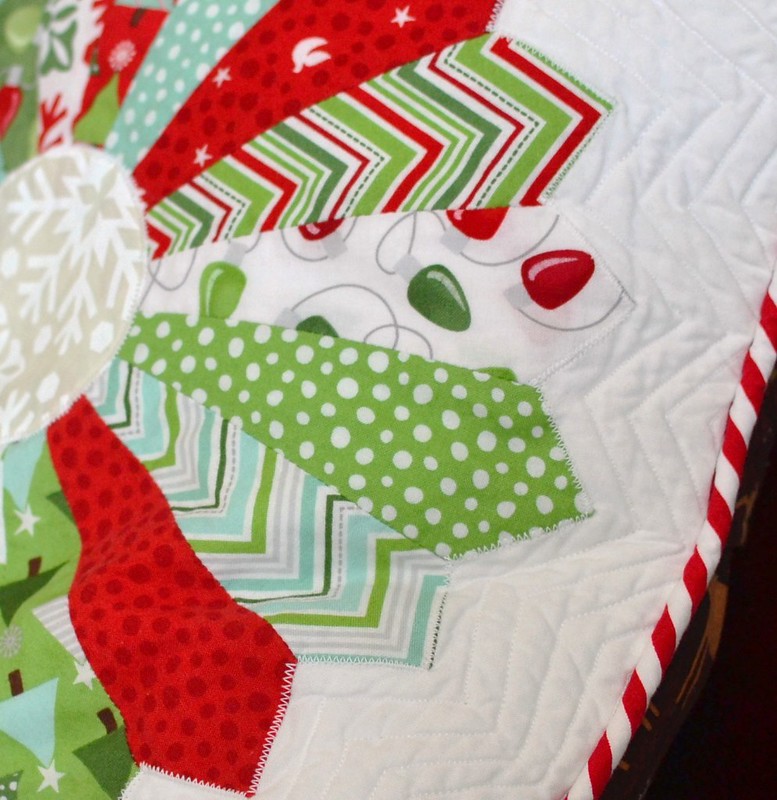
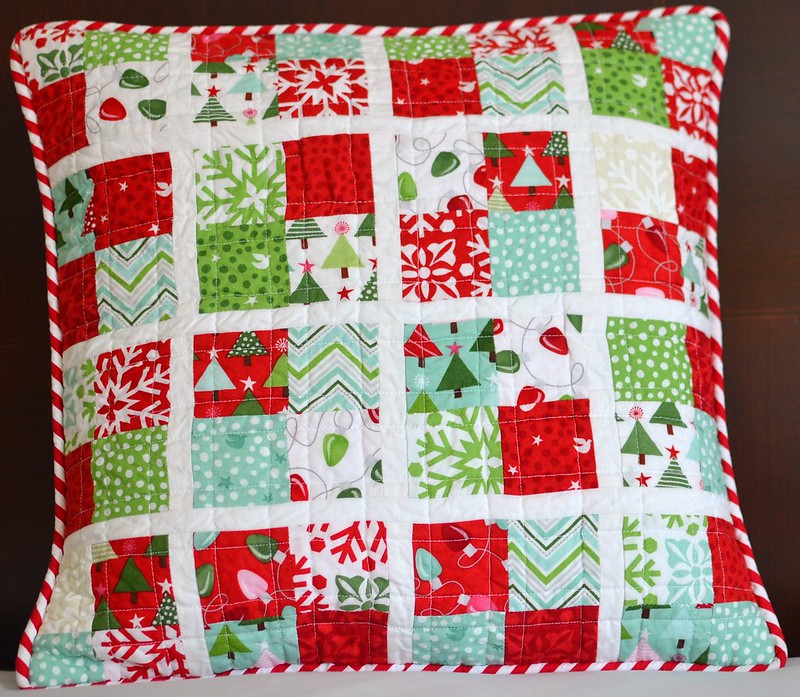
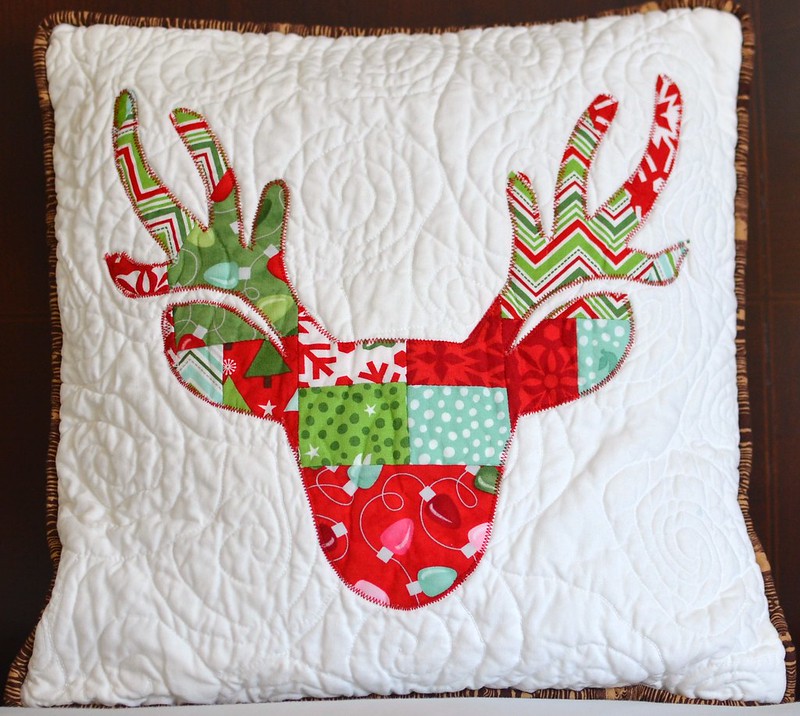
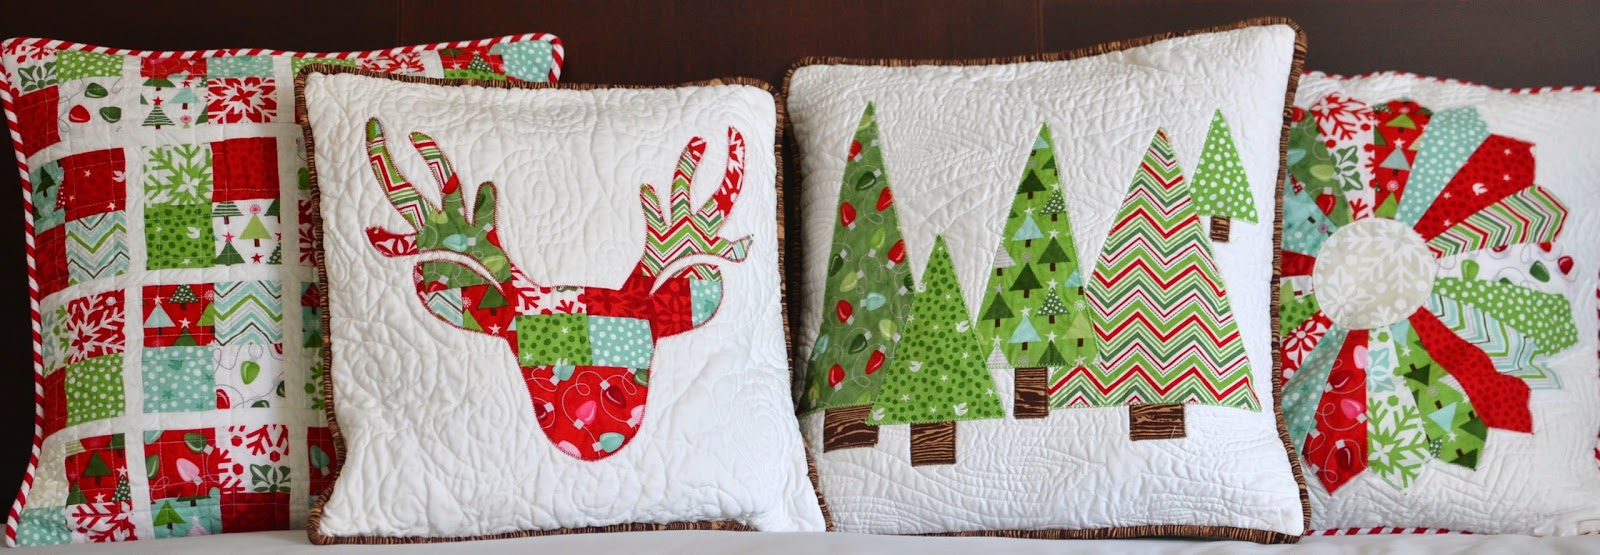
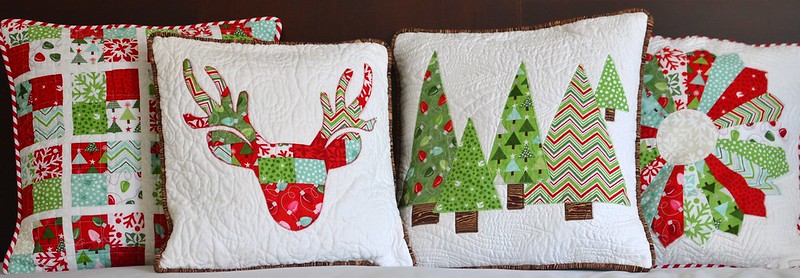
The pillow covers for my mother in law are done!  I really love them.  My goal was to make them modern but still have a  warm homey vibe to them.  I found a bunch of inspiration on flickr and went from there.
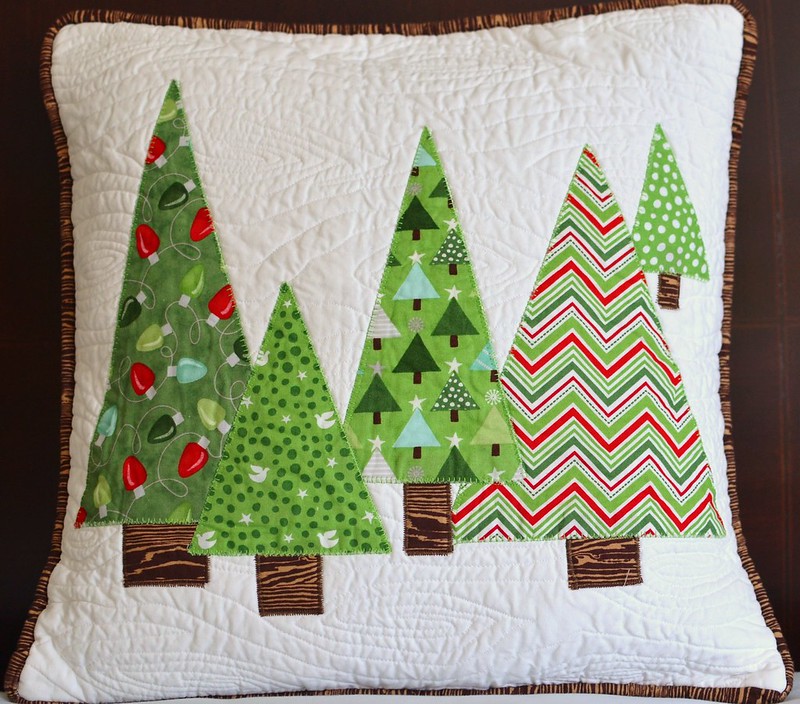
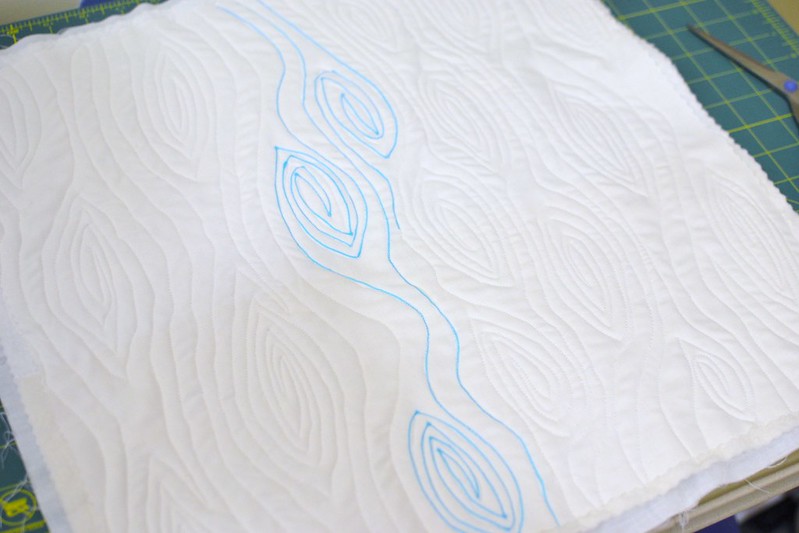
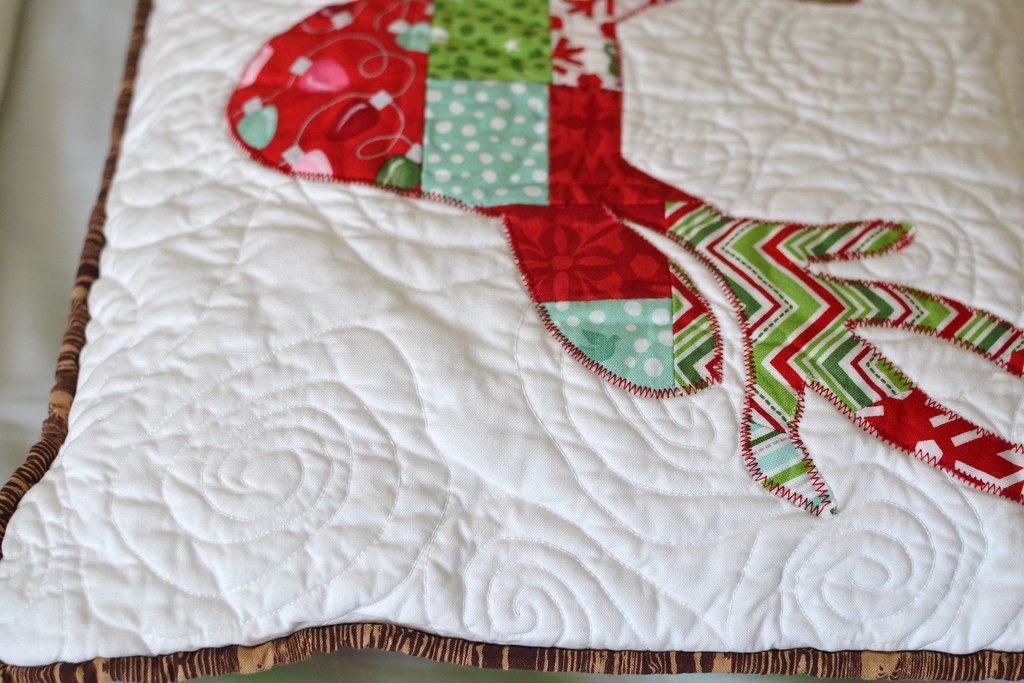
I pushed my quilting by attempting patterns in the book "Free Motion Quilting with Angela Walters."  This book is so beautiful to look at and definitely inspiring.  I was really proud of my wood grain quilting.  It was fun to try and gave a lovely result.  The attempt at concentric circles didn't leave me too happy at first, but after the cases were washed it looks a whole lot better.
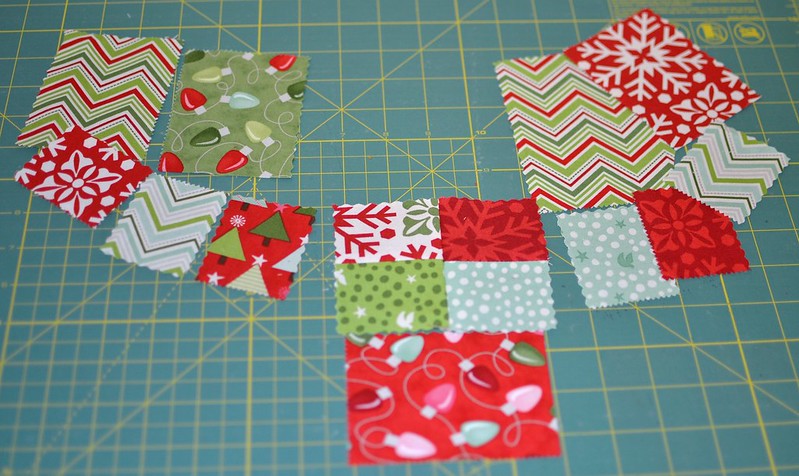
Less than half a layer cake was used to make these.  I bought it from Pink Castle Fabrics via an instagram sale. I have enough left to make some more Christmas gifts.

DSC_1082
 
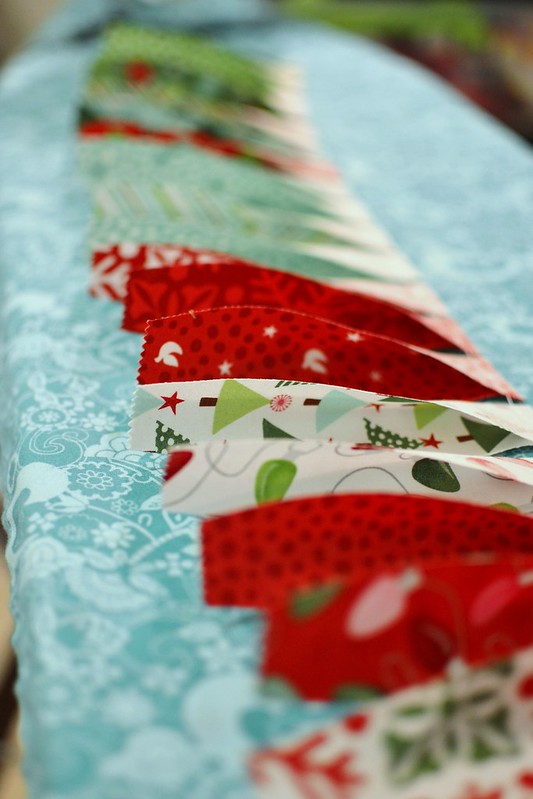
Dresden blades
DSC_0899
DSC_1075
DSC_1086

First time trying this wood grain technique.  I started with some marking lines to get the hang of it.  I also went in an up and down motion instead of side by side.  It felt easier to me that way.
DSC_0939
DSC_1074
DSC_1077

A reindeer in the making.  (November 2013 Here is an update on how I did it.) 
When I made it last year I was looking for the perfect deer head silhouette.
This is the link to the one I used
http://www.itsoverflowing.com/2012/10/no-sew-pillow-antler/

What I did was trace the shape on my computer screen,  outlined it in a black sharpie, and then enlarged it by copying and printing it at a larger size. Hope that helps :)
DSC_1067

It was not intentional to have him look like he had shades on but I think it makes him cooler.
DSC_1079
DSC_1087
DSC_1090

Fabrics Used:
layer cake of Joy by Kate Spain for Moda
Aviary Woodgrain by Joel Dewberry
Kona Snow
Michael Miller Clown Stripe in Red
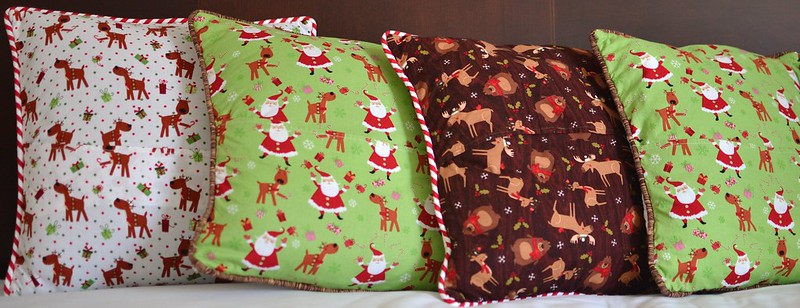
Backing - Christmas collection fron Joanne's